
Our Budget Kitchen Remodel
Hi friends! It has been a HOT MINUTE since i’ve posted here but i’m so excited to be back today with a post that I am so excited to share with you! Since we moved into our house in August of 2020, we’ve been putting in the hard work (sweat and blood for sure) to renovate our home. I’m so proud to say that we’ve done the majority of the work ourselves, and with each project our home is feeling more and more like “us”.
If you’re not familiar with our home buying story, we began looking during the pandemic because of a really unexpected set of circumstances. In May of 2020, my Mom had a very unprecedented seizure which left her with some health issues and difficult lifestyle changes. She was unable to drive on doctors orders, and our whole family felt very nervous to leave her alone in case of another seizure. There was so much uncertainty at that time, and so after that event, we took what had been very casual conversations about possible multigenerational living far in the future and put our plan into action. After a whirlwind month of looking, we found our ‘90s standard builder grade home in a suburb of Columbus. Our initial plan when thinking of years into the future was to build a custom home, but due to time and budget restrictions, we needed to find something already standing, and prioritized finding a home within our budget that would still afford us the room and privacy that we felt was needed. If you’ve ever bought a house, you know that you have to prioritize needs and wants (especially with a first home), and for us, we knew that some of the things we didn’t love about the home as-is were renovations we could do as we lived in the home.


+CLICK THE PHOTOS FOR PRODUCT LINKS+
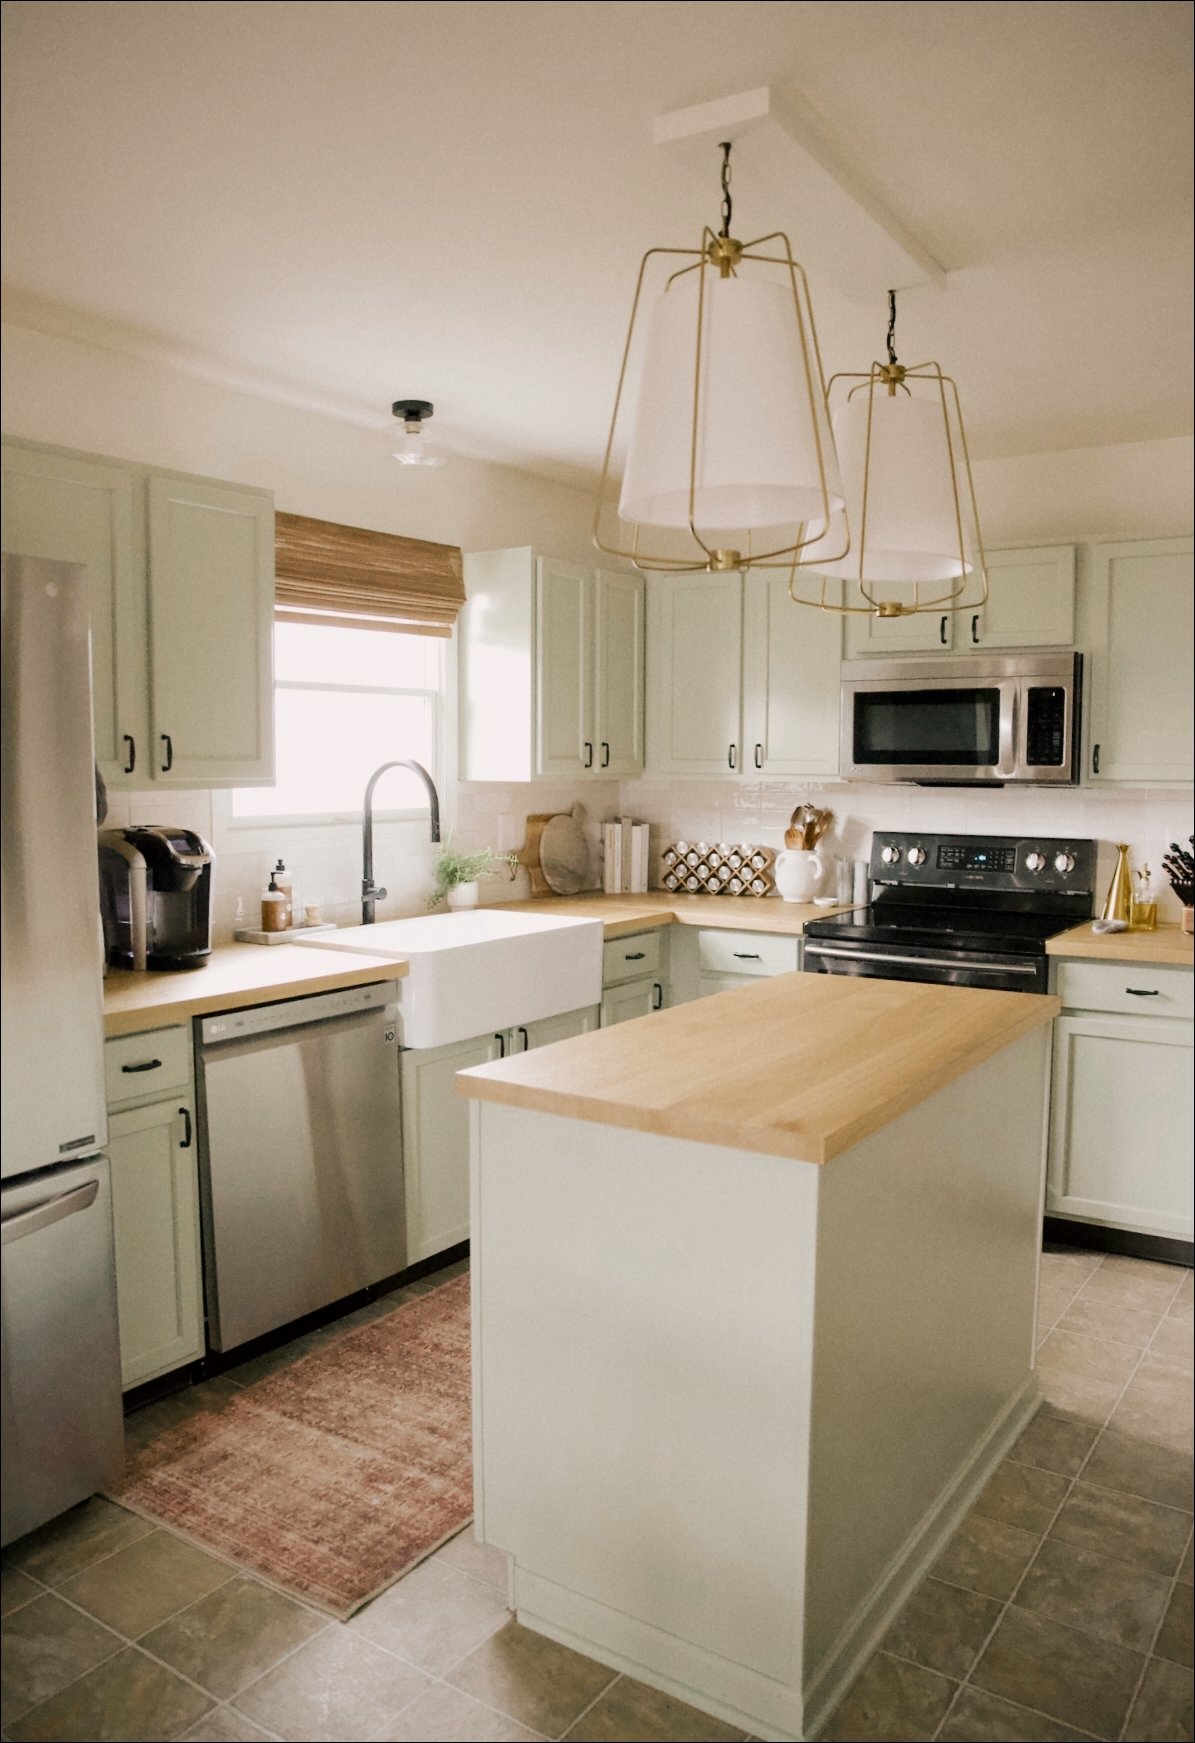
At the one year mark in our home, we had already done so much work. The second floor was basically transformed, as was most of the main living space. The kitchen was one area that we hadn’t touched much, even though we knew eventually we would. I’m so glad that we got a lot of experience under our belts before tackling the kitchen, as it was definitely the most involved and largest monetary investment we’ve made into our home so far (well, except for our new AC and heating unit last summer - that was a fun surprise)! Going into it, I had a vision of a brighter, airy space with plenty of color and texture as well. I wanted it to be super functional and to utilize our space better, but also feel like it had a bit more personality than your standard builder-grade kitchen. I was also obsessing over a lot of green kitchens i’d been seeing, and as it’s my Mom’s favorite color, I felt that would be a fun risk to take when designing the space. After some dreaming and sourcing, here is the mood board that I came up with:
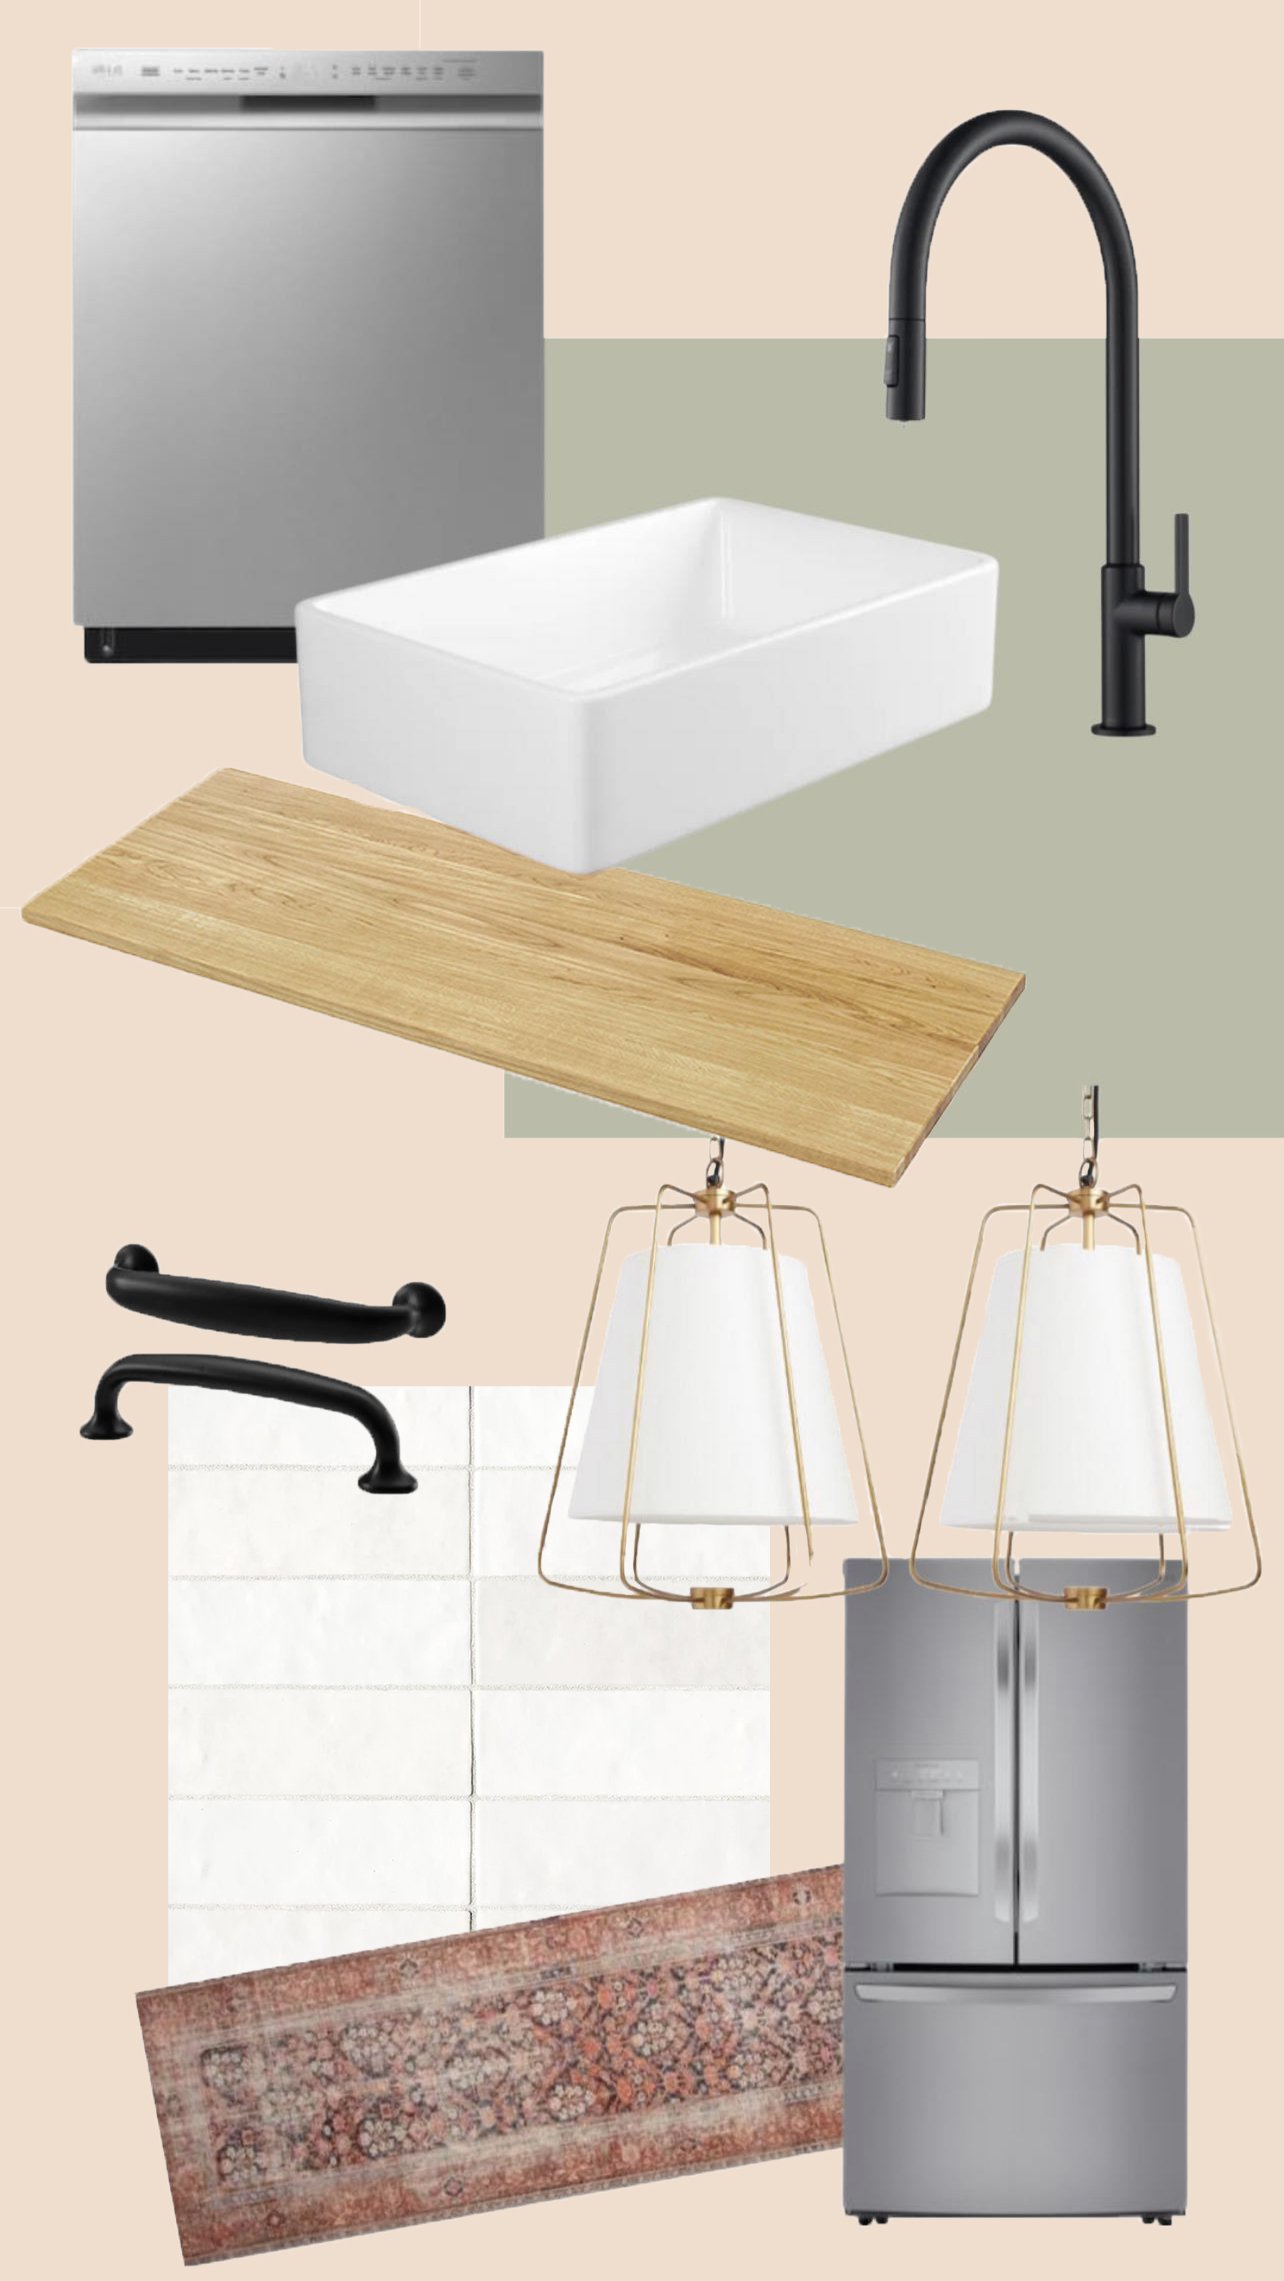
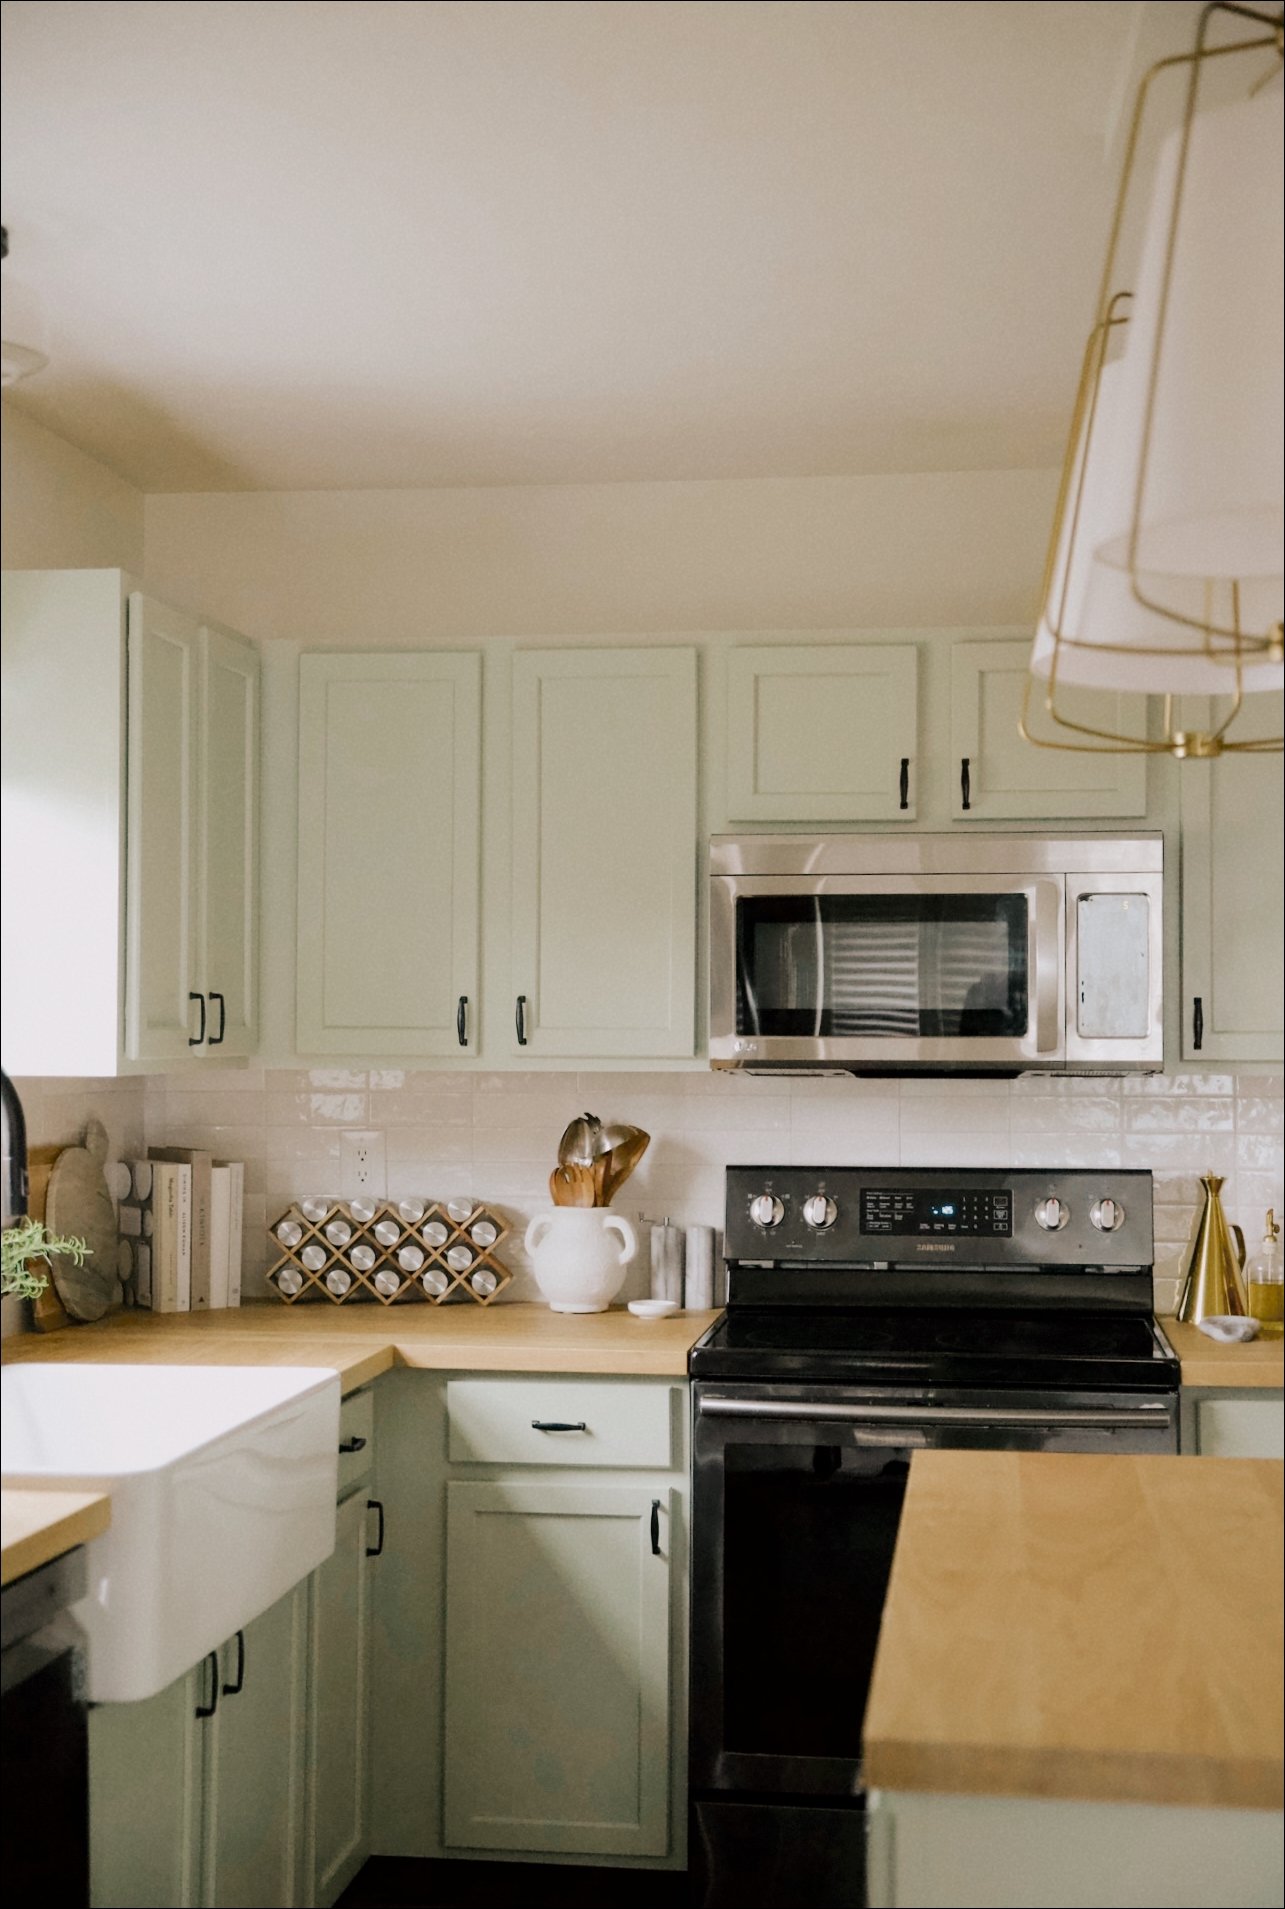
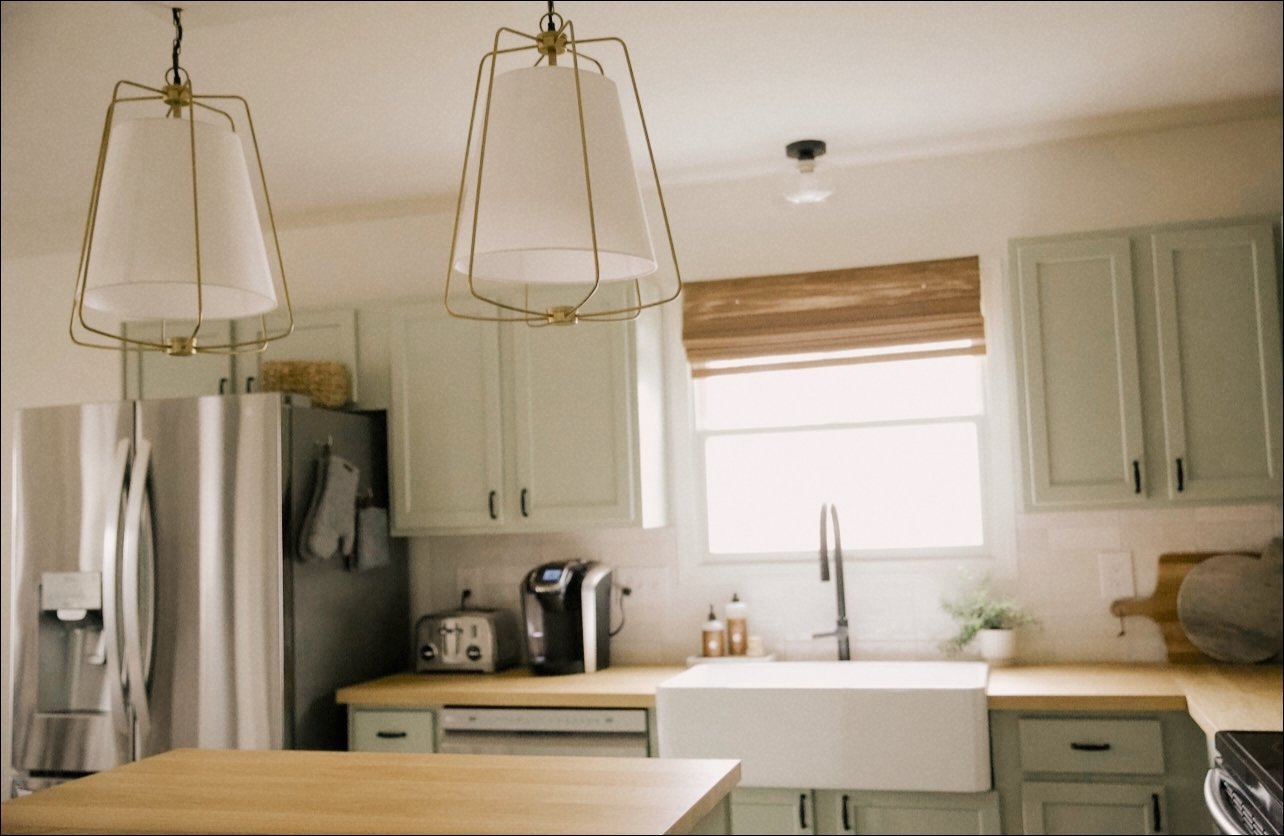
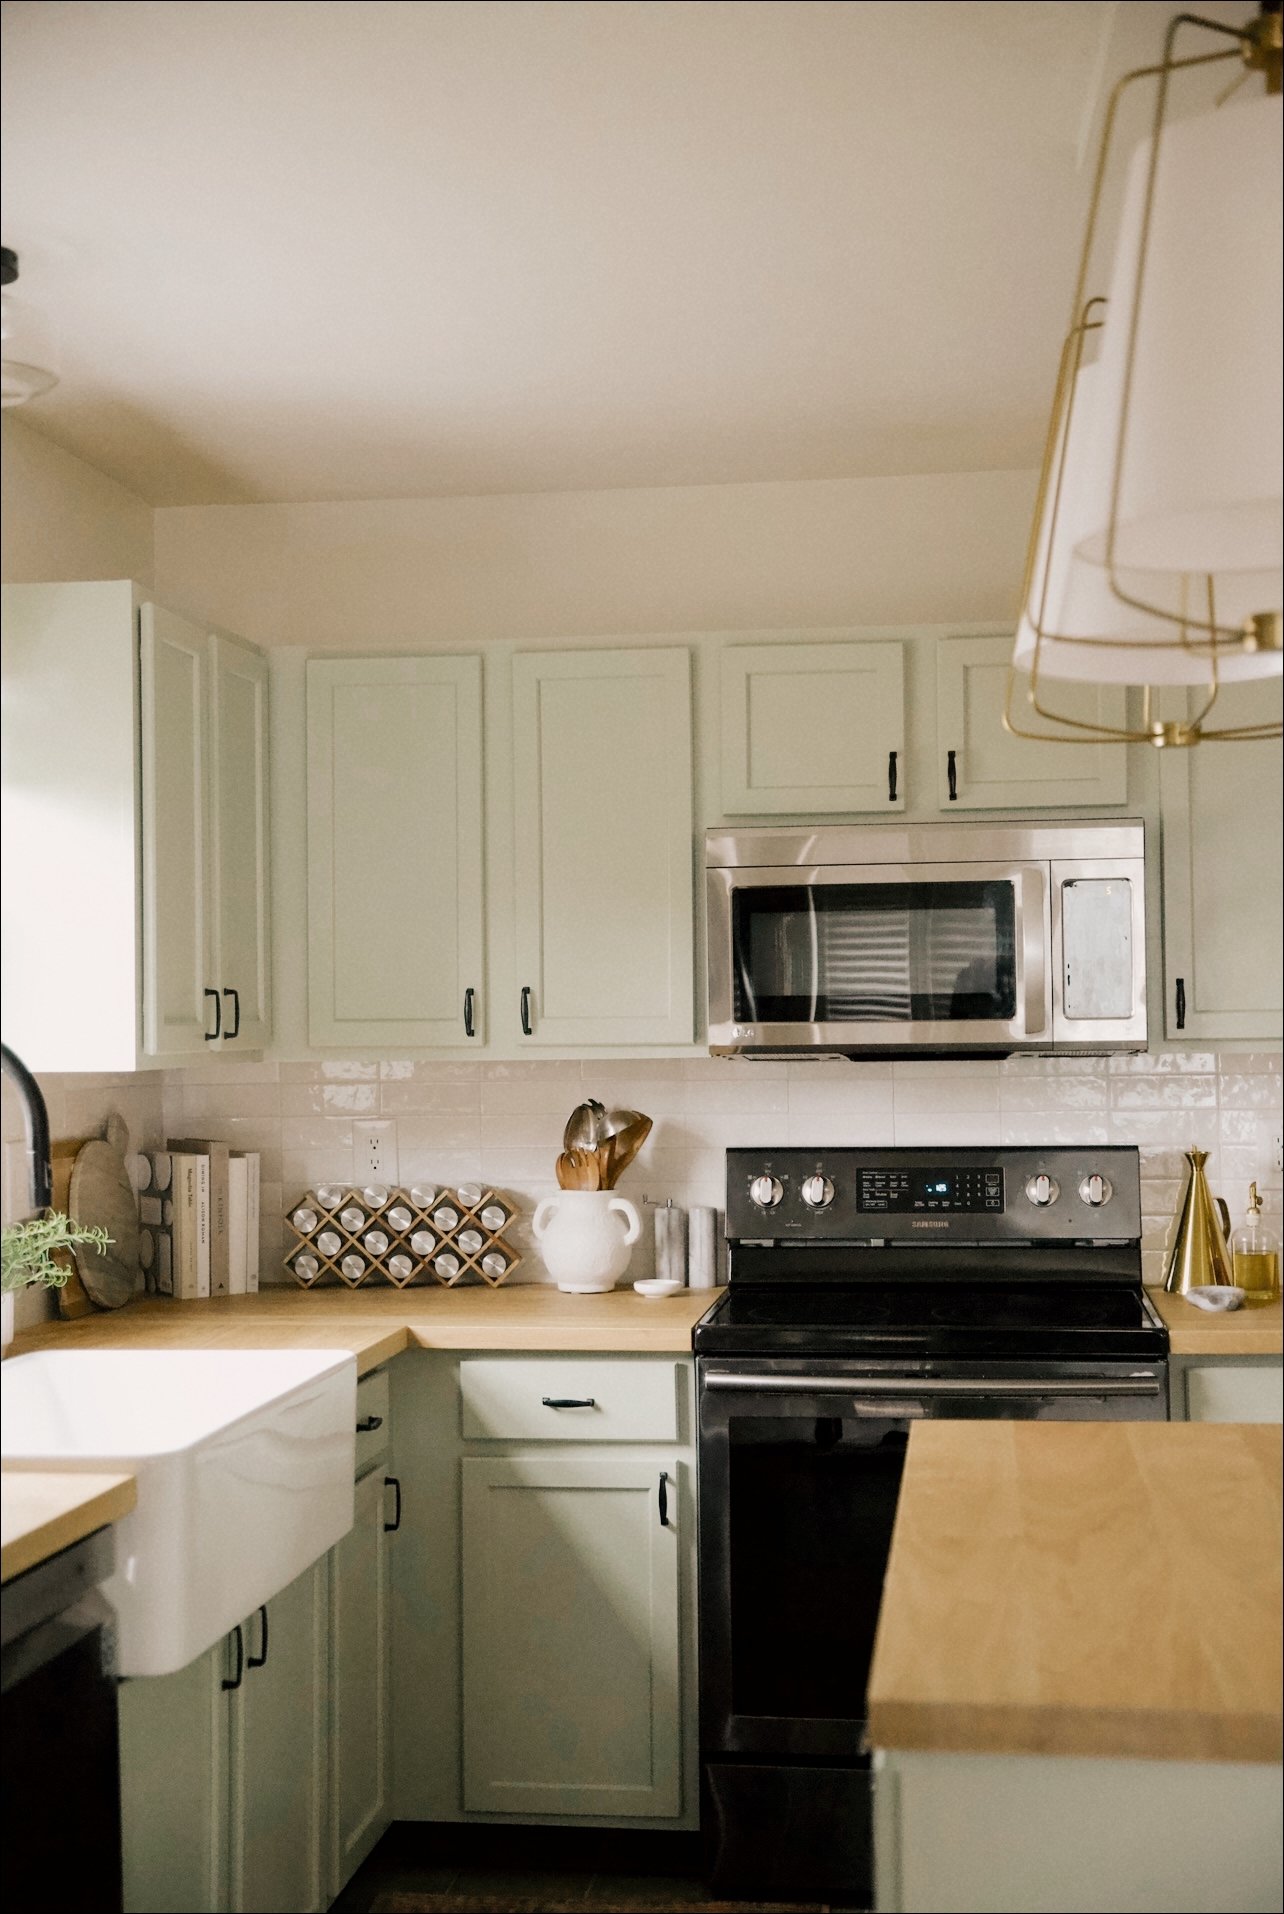
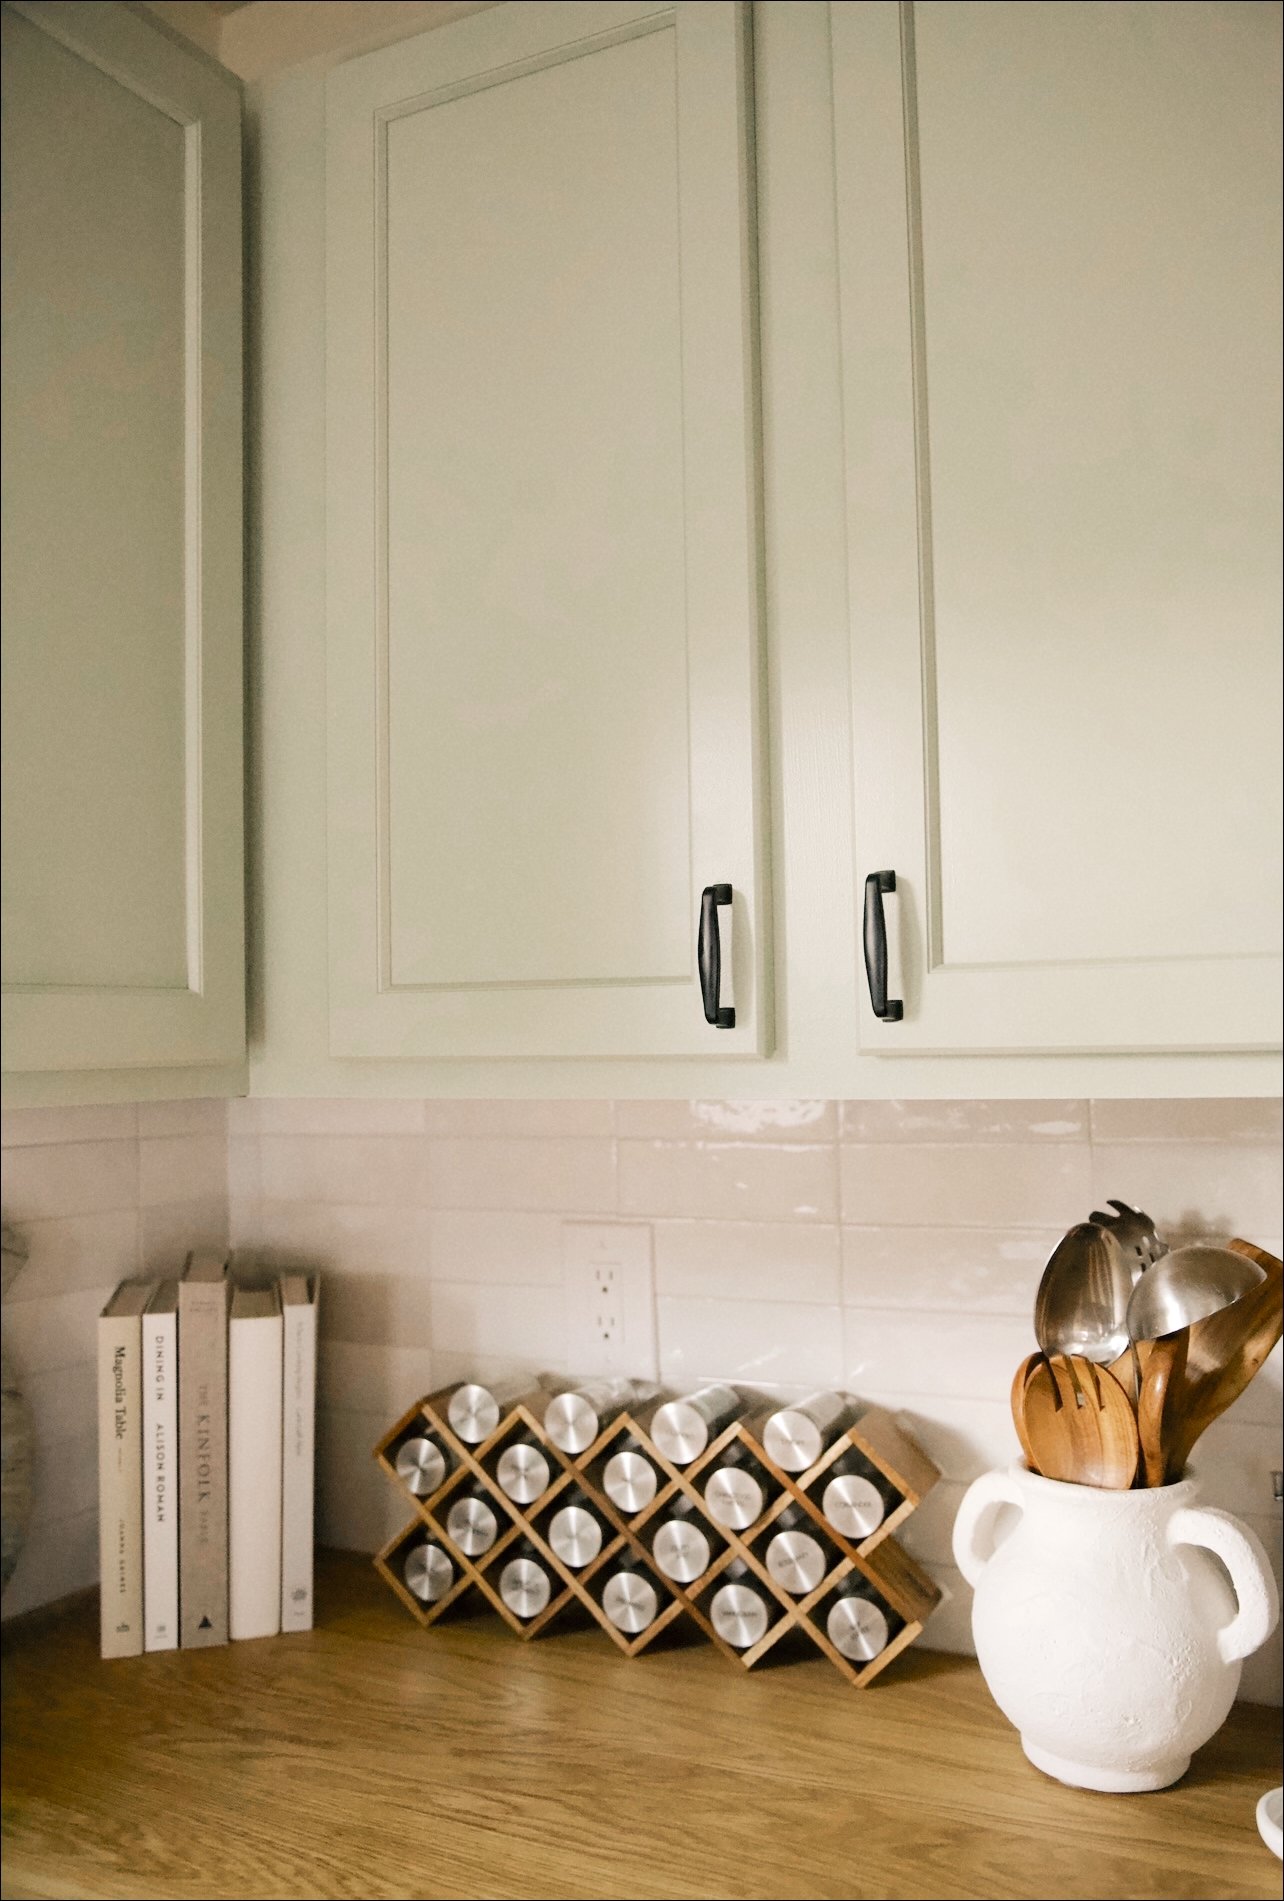
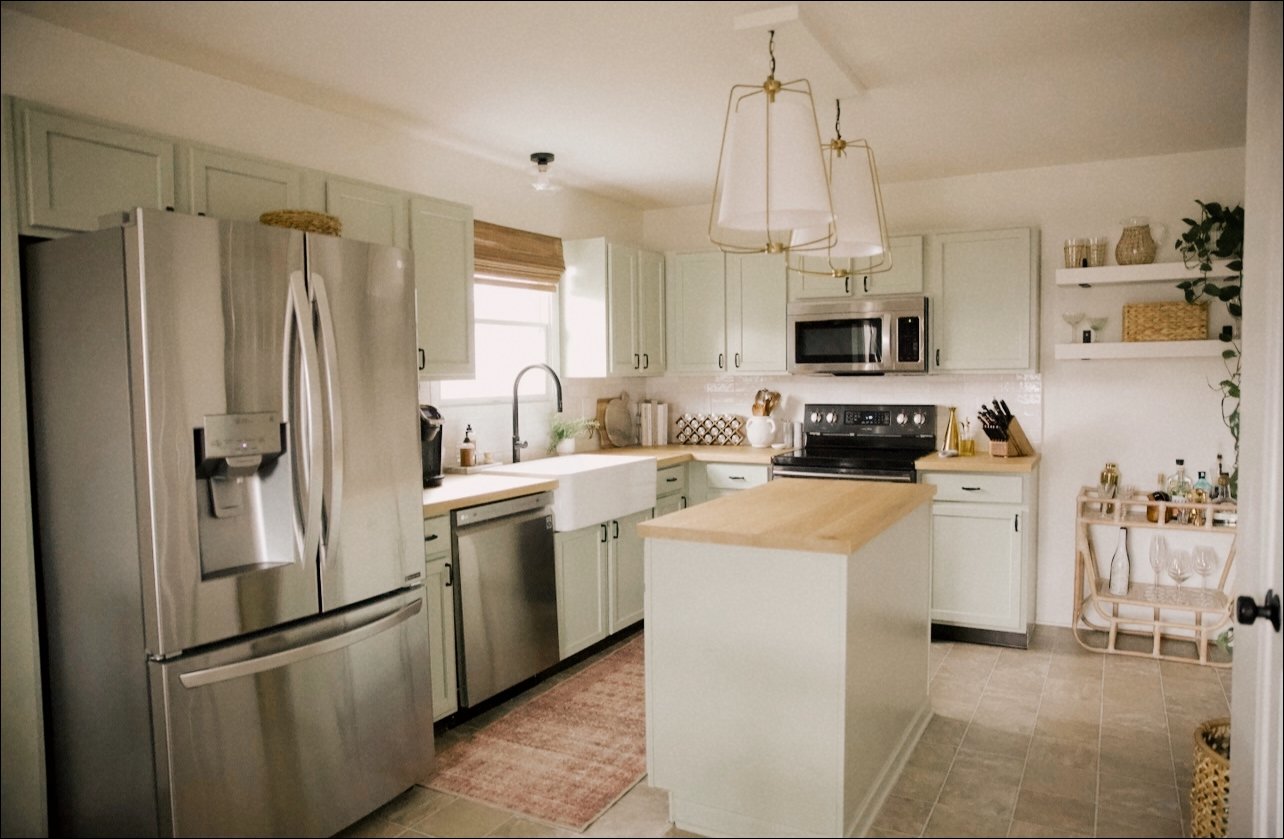
We had a budget of about $2000 for this renovation, so we knew that things would be tight. When allocating money, we prioritized new countertops, as the old ones were honestly awful, and we knew there wasn’t an easy fix. The cabinets were still in great shape, so painting those instead of investing in new cabinetry saved us so much money. This is one of those spaces in your home where paint and a lot of elbow grease can save you some major $$$ while still giving a drastic change. Like I mentioned above, I knew that I wanted to try out a green for the cabinets, so that color was one of our first choices. After much deliberation we went with Sherwin Williams “softened green”. Once the cabinet color was solidified, it made our countertop decision so much easier. In a future home I would love to do a beautiful marble, but for our budget, butcher block felt like a really great option. We looked around at finished and price points, and found an amazing option at IKEA - the Möllekulla. It’s actually is a veneer, which gives you affordability, durability, but the charm of real wood all in one. We chose the oak color!

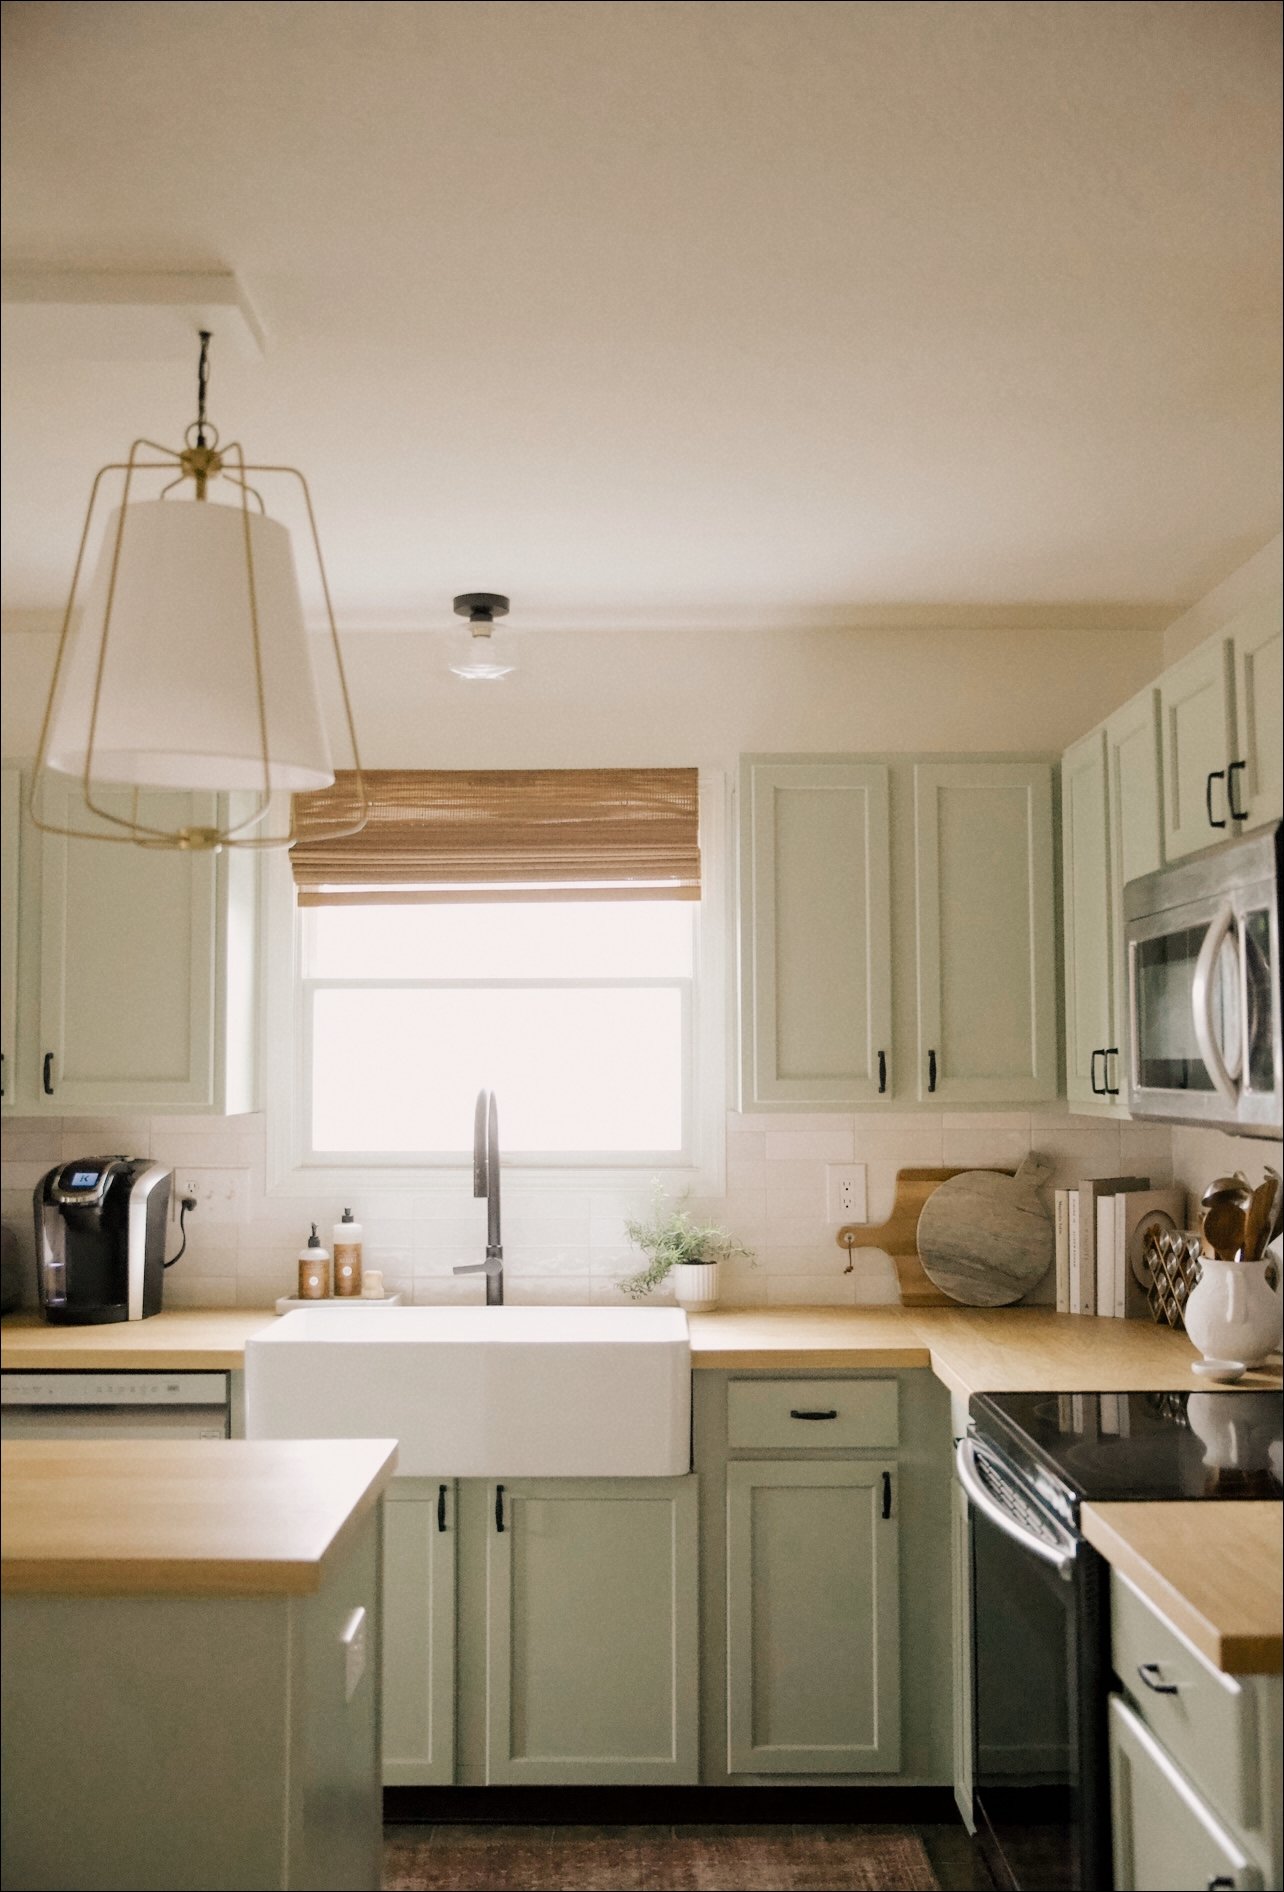
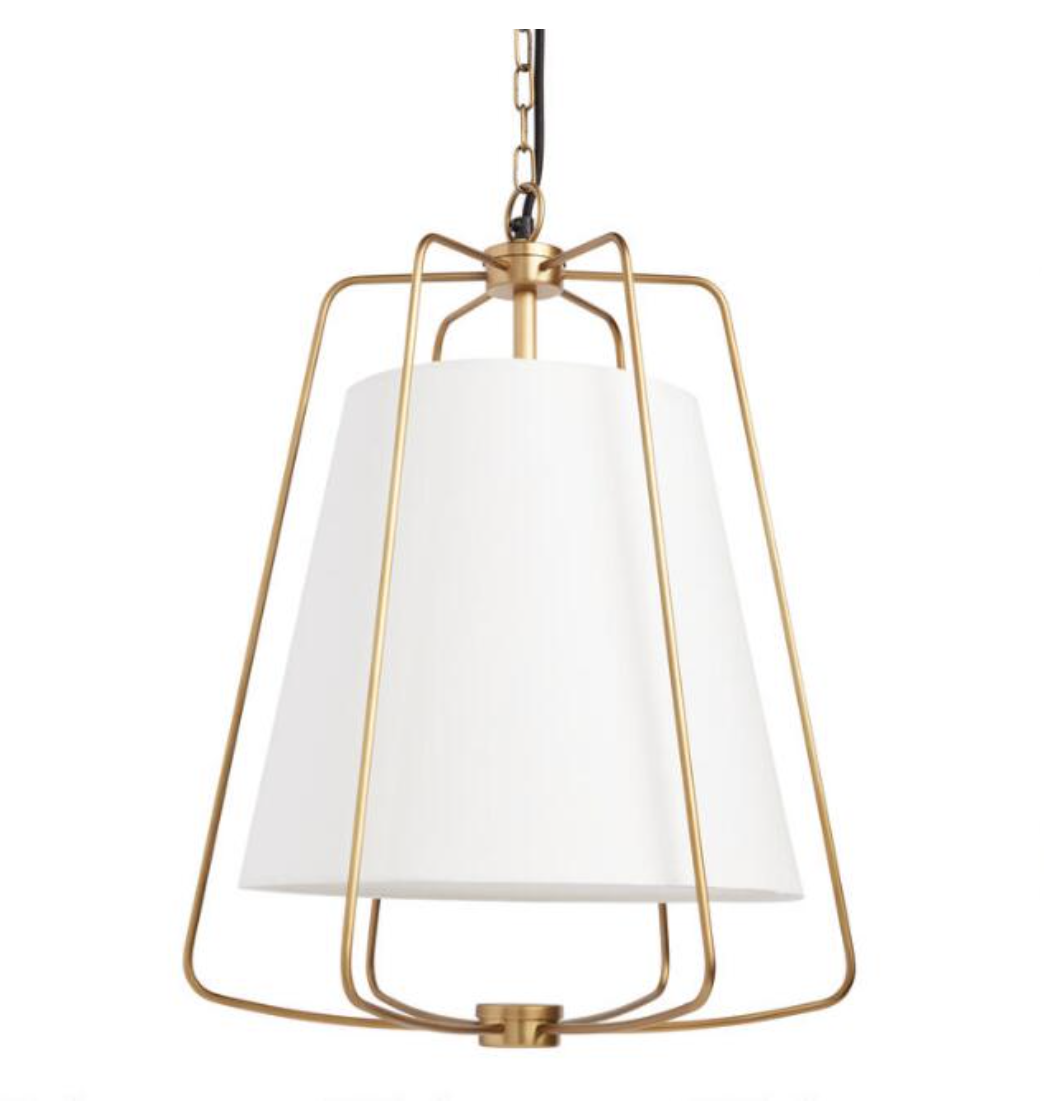
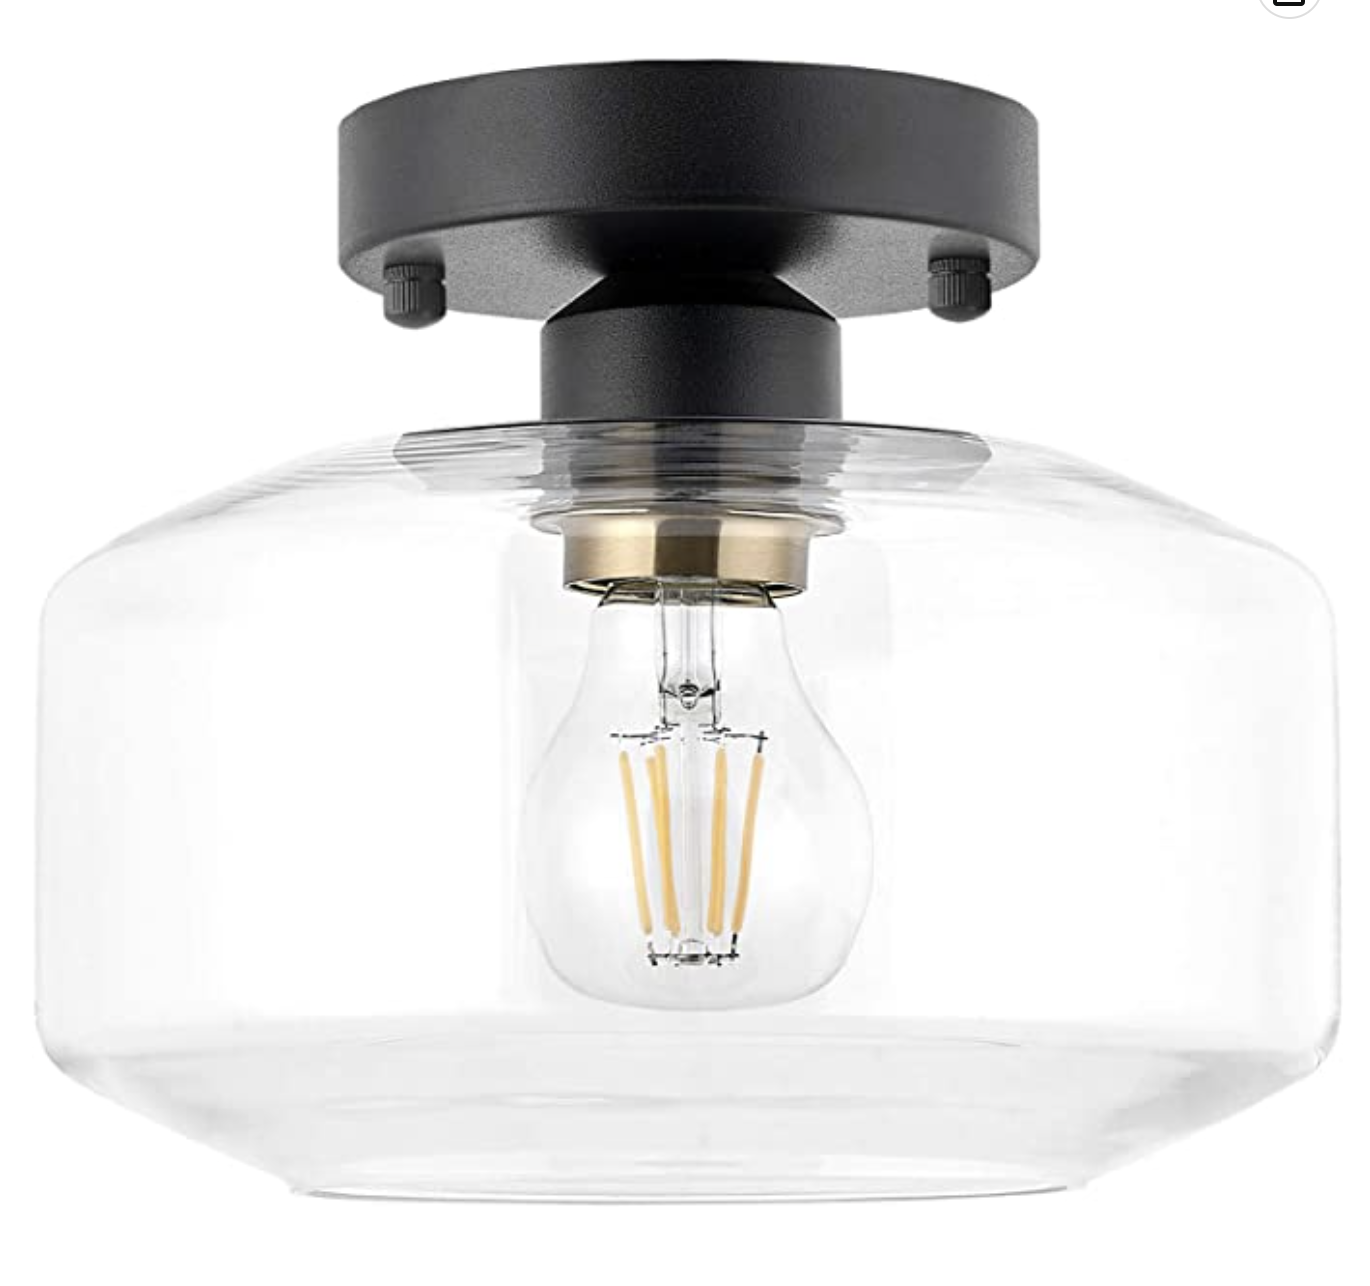
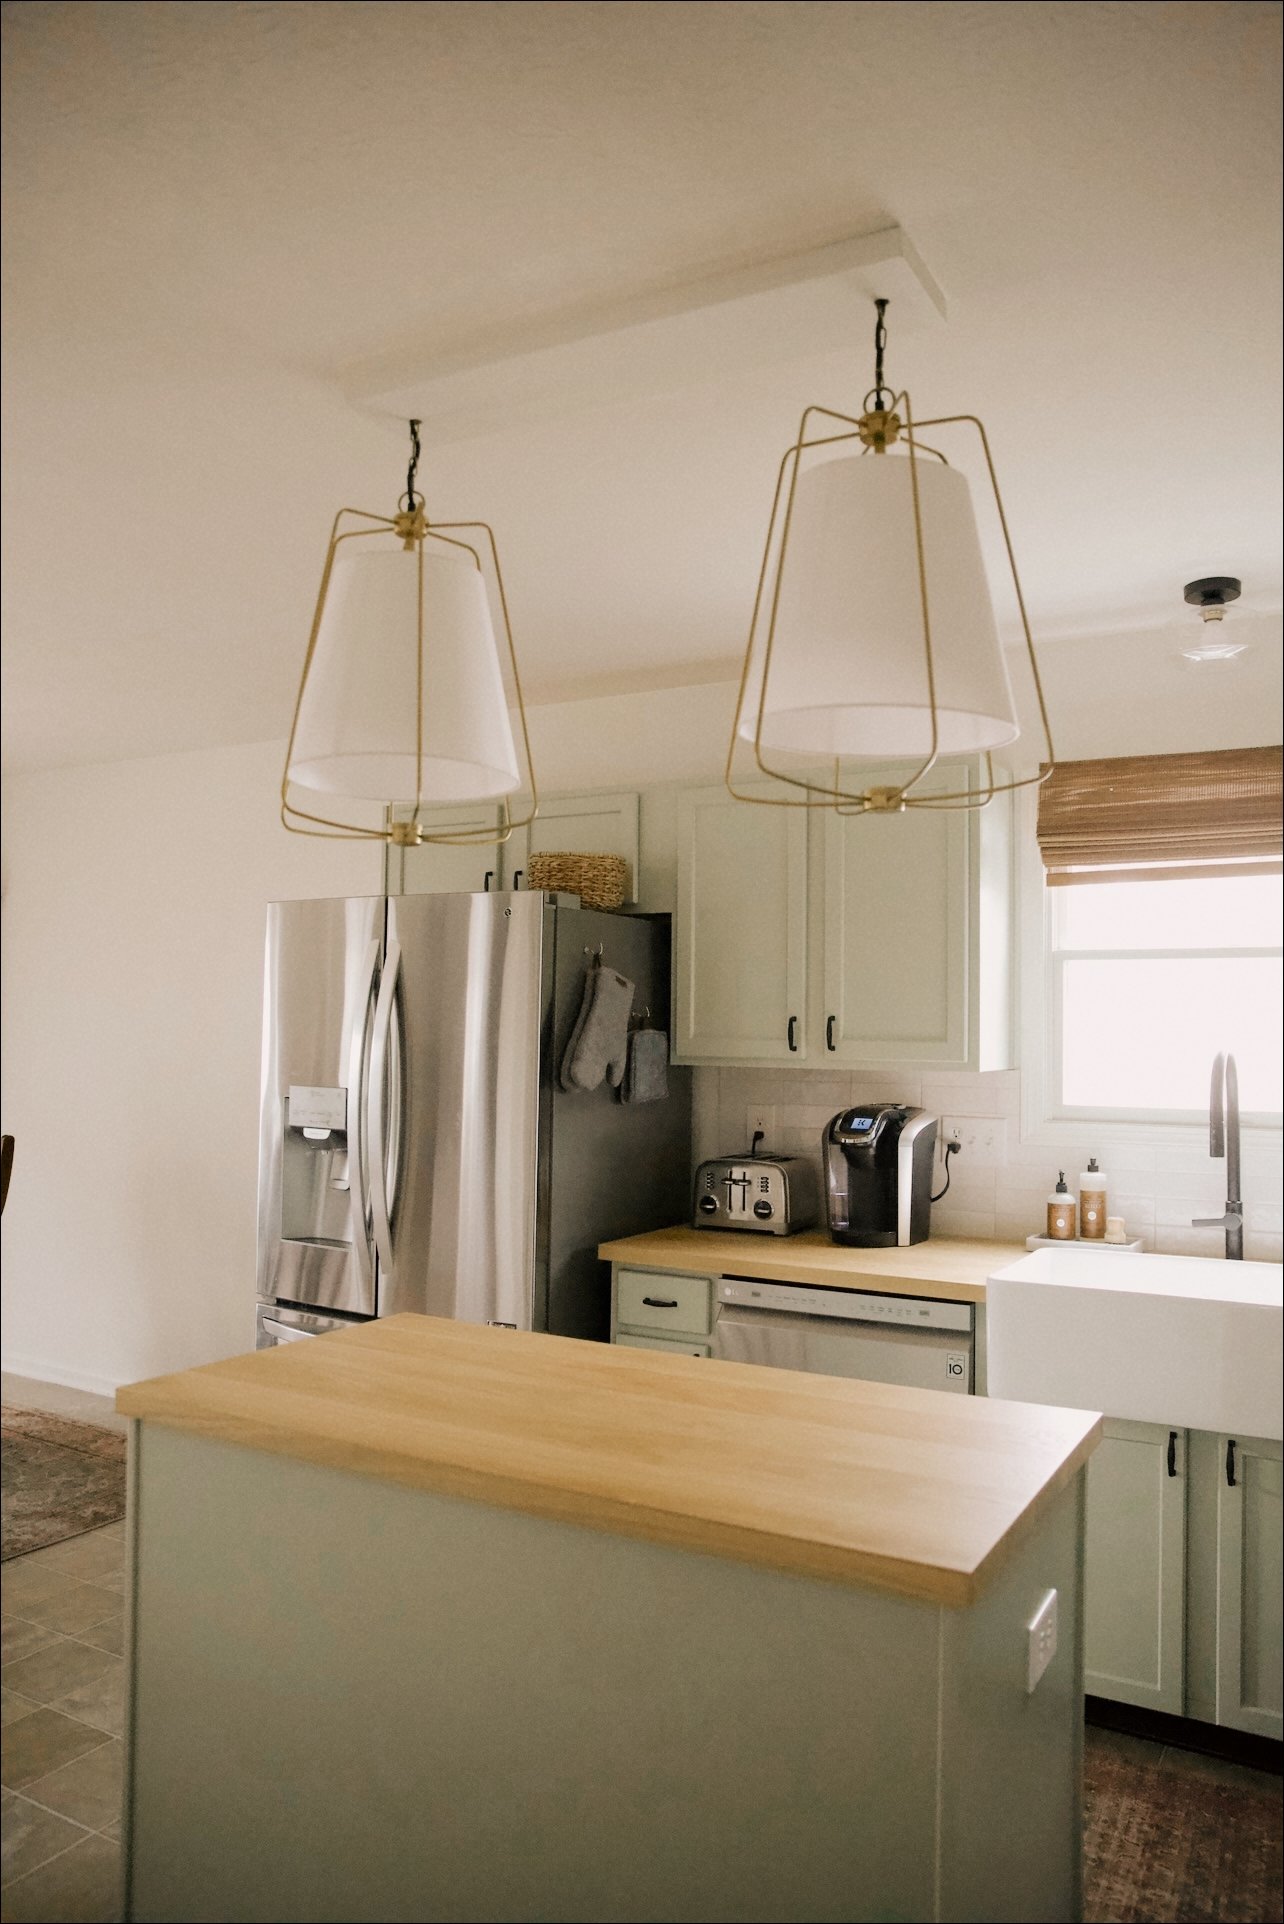
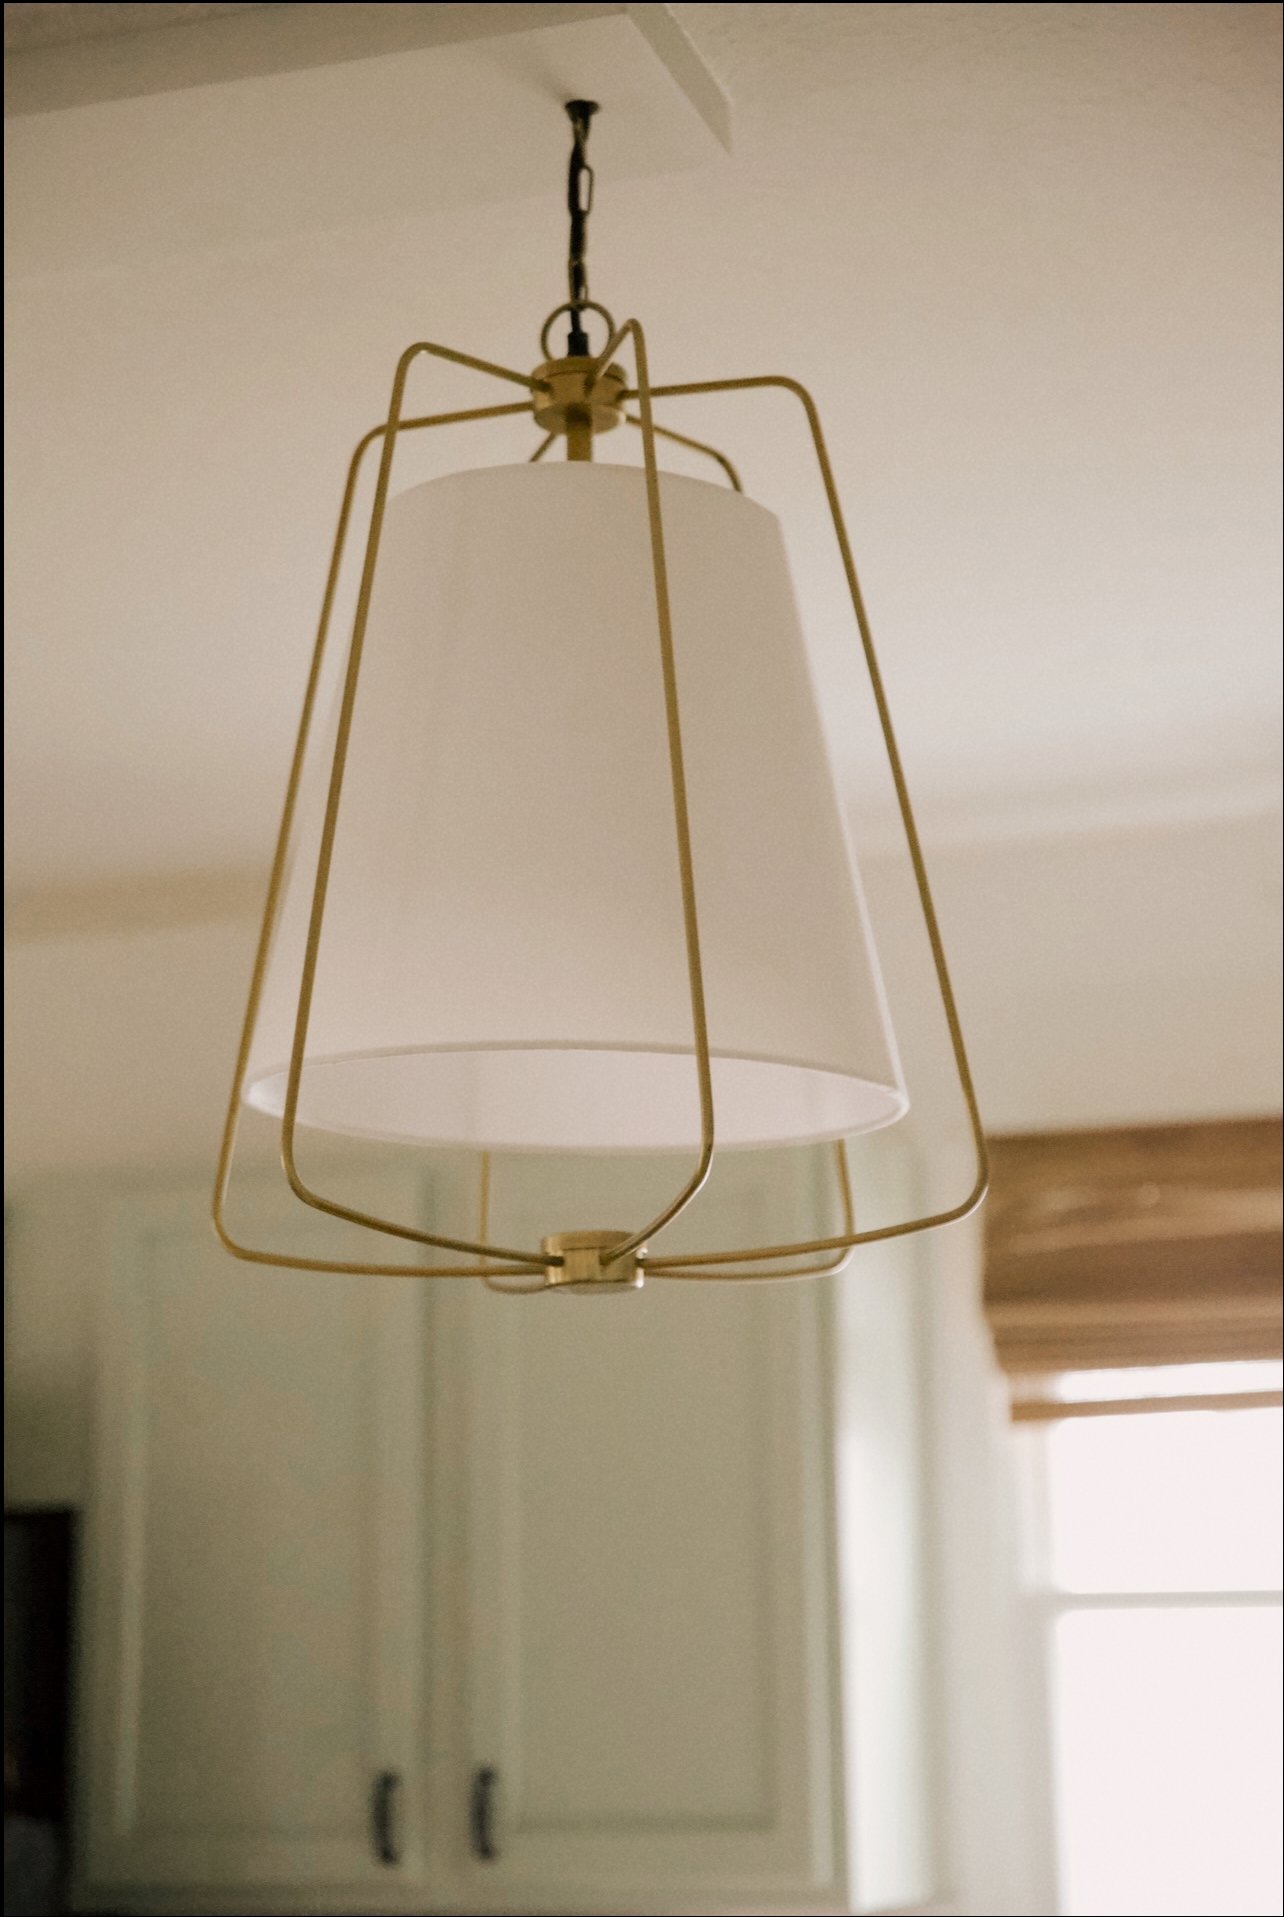
After those two choices, it was more about details. I found a cage-like light at World Market that I fell in love with. We bought two and set about to figuring out how to hang two lights where there was only one outlet. The wiring wasn’t the issues, just the placement, so we tried two hooks on each side of the connections, holding the lamps, but it was too busy for us. We then considered a rectangular canopy bit couldn’t find anything the right size. We ended up making our own canopy-like box out of wood and hides wires and painted white it sort of disappears into the ceiling! I love the lights we chose and am so happy that we were able to make my dream of two lights over the island work! We also picked out a simple black and glass light to replace the horrible book light over the sink. I love the modern simplicity and that the matte black mirrors the hardware on our cabinets. I wanted something that doesn’t pull too much focus from the cage lights, so i’m glad that this light does just that
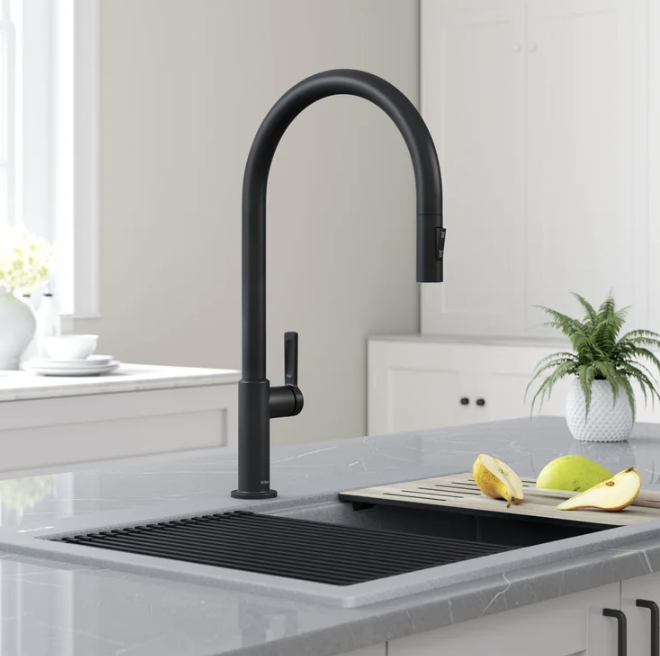
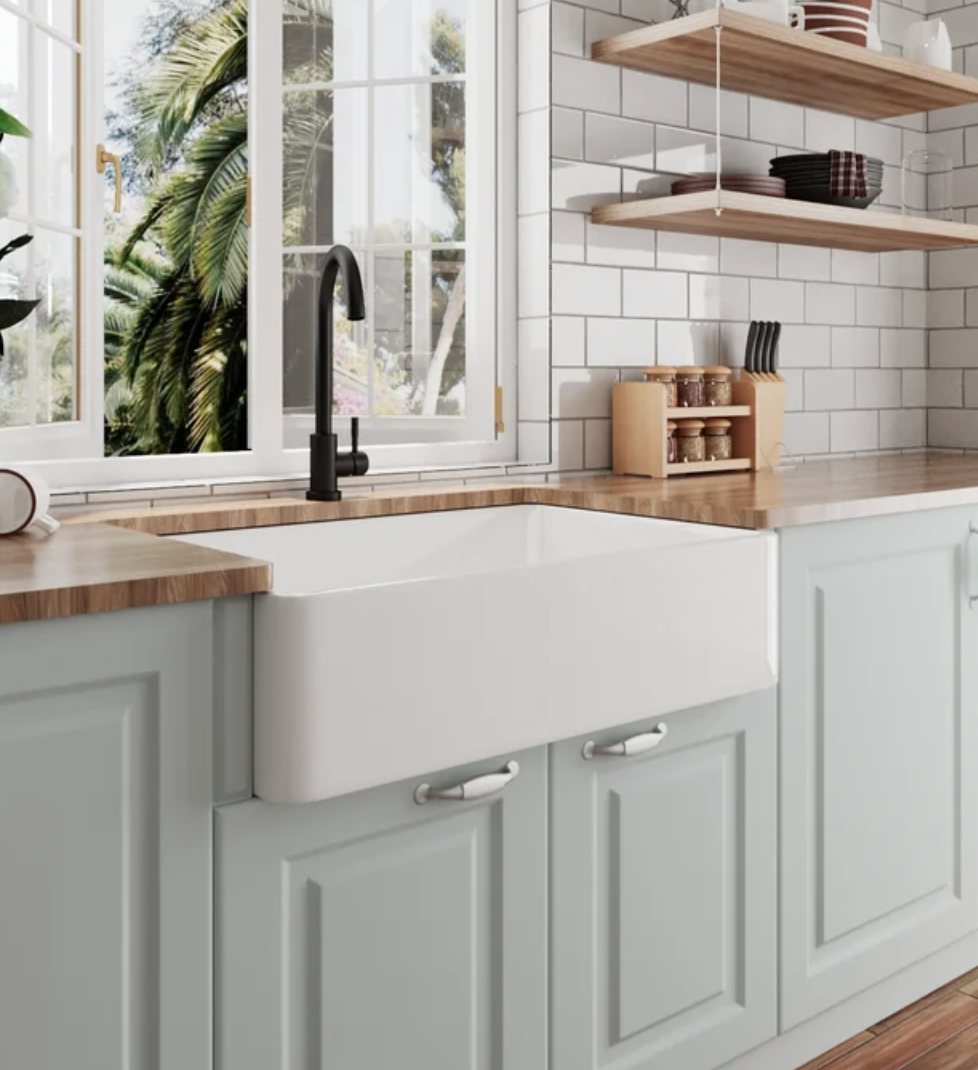
Next up was our sink and man - this was the hardest part of the reno! Not only because our first sink was damaged in shipment, and our second took forever to get to us, but also because it weighed so much! Mark was so nervous about cutting out the countertops for the new sink - but after half a day of measuring he did it almost perfectly! We had to build a support for the sink to sit on, and reconfigure some of the plumbing, but it ended up working out well. Mark also installed our new matte black faucet! I got a great deal on one at Wayfair, and though we were worried about how huge it was in person, we think the size compliments the sink well. It was a hard part of the process, but our sink and faucet are truly my favorite part of our new kitchen! It’s so nice to have a huge apron front sink to was even our largest pots in and I can’t believe that I was able to score both pieces for around $500!
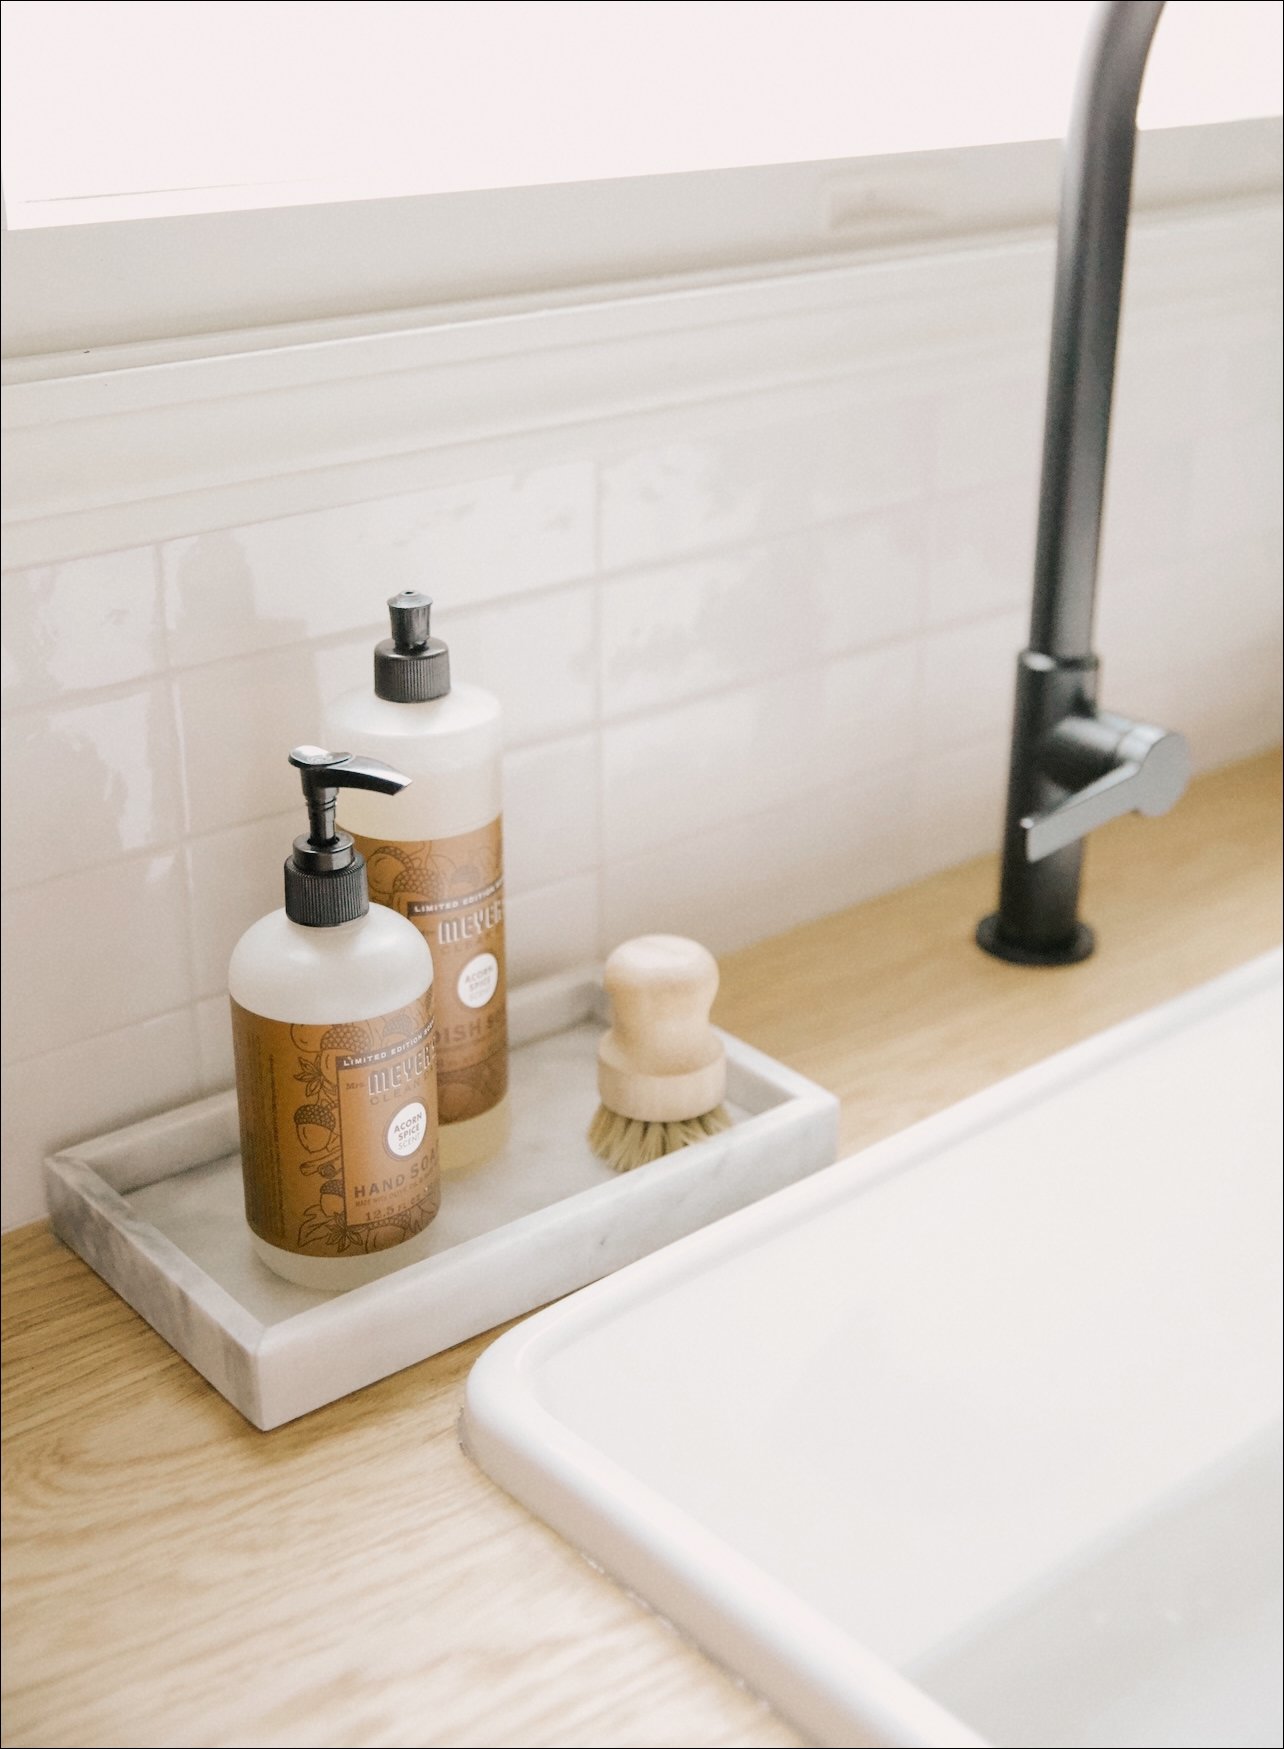
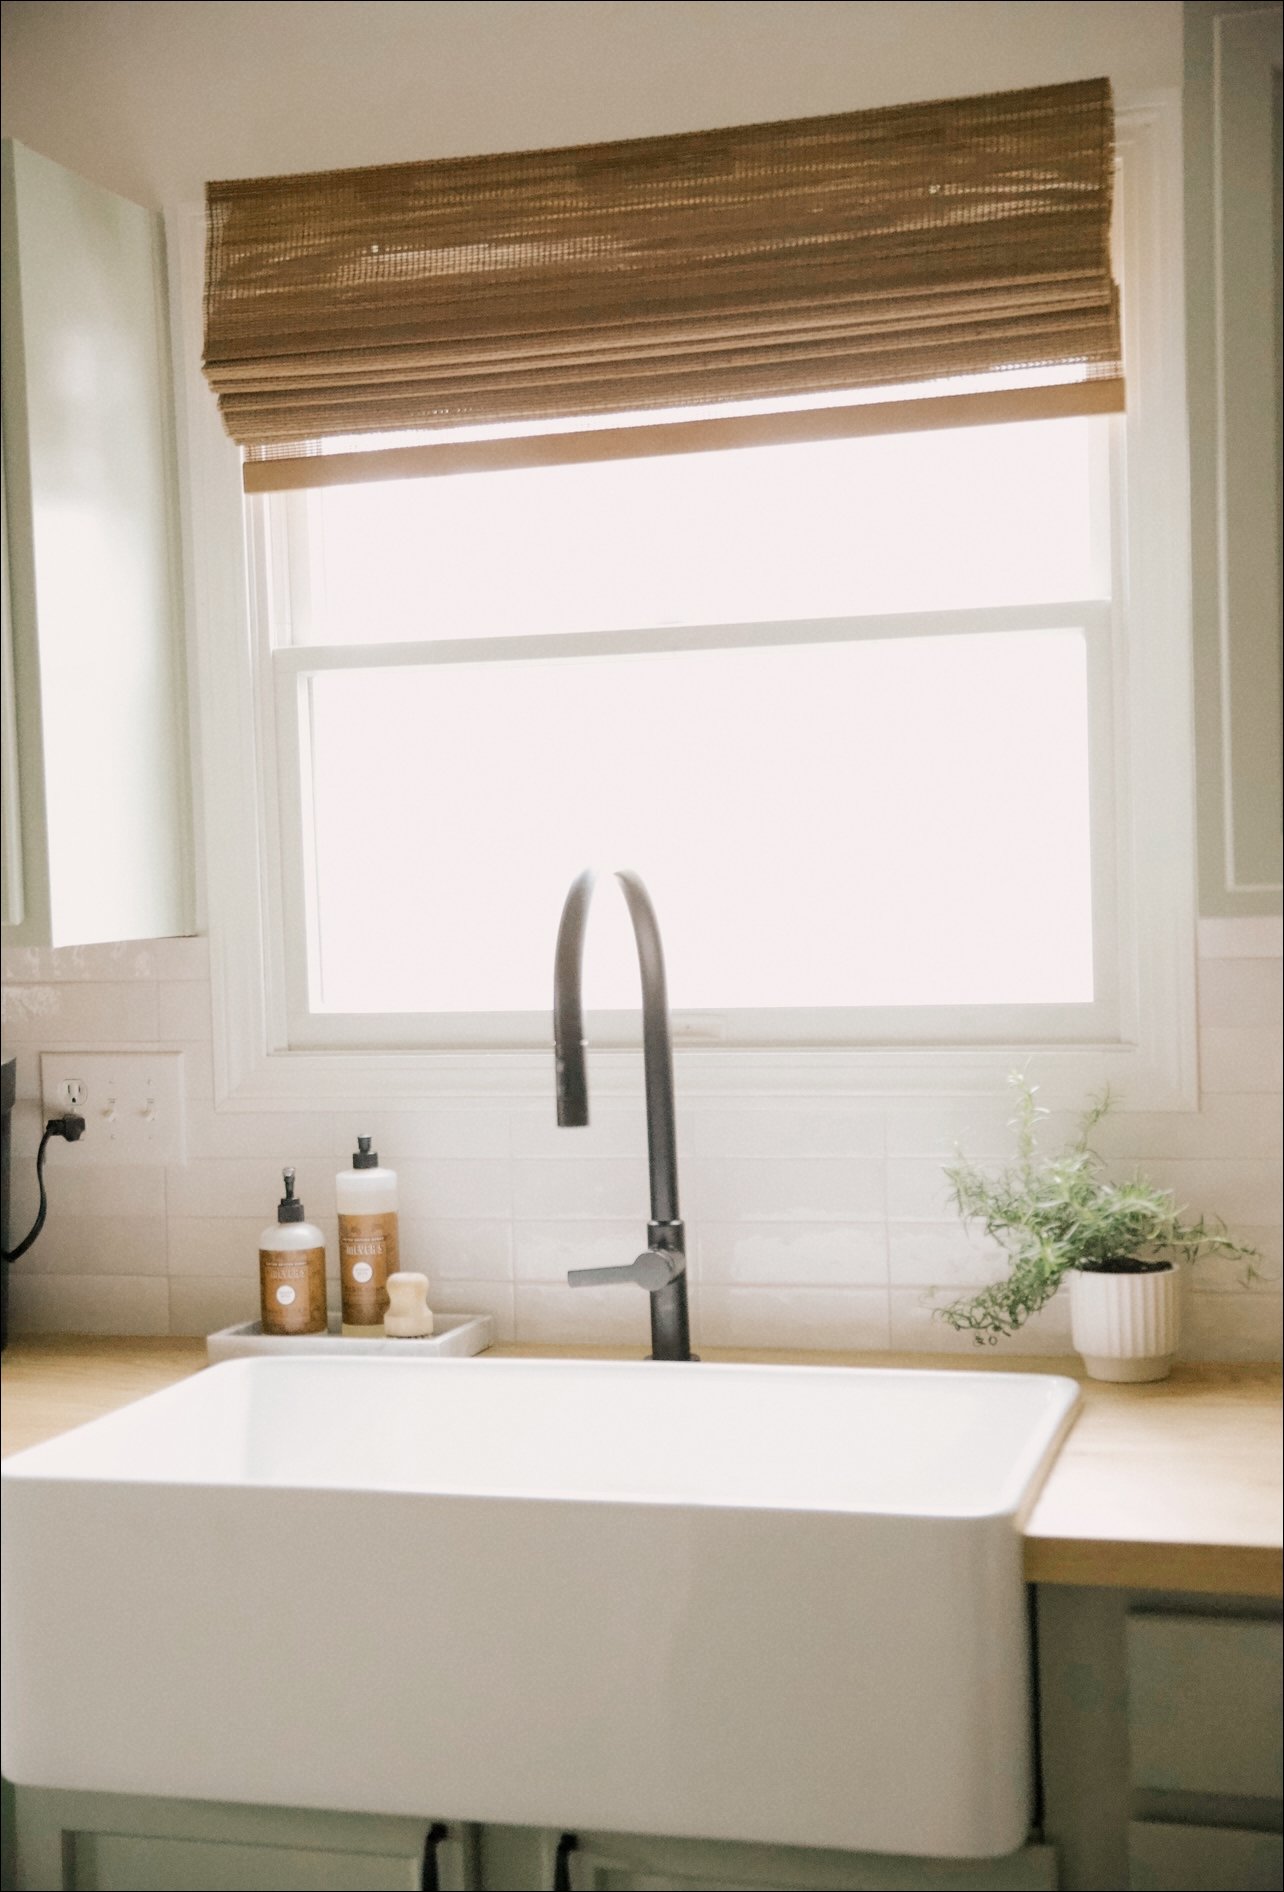
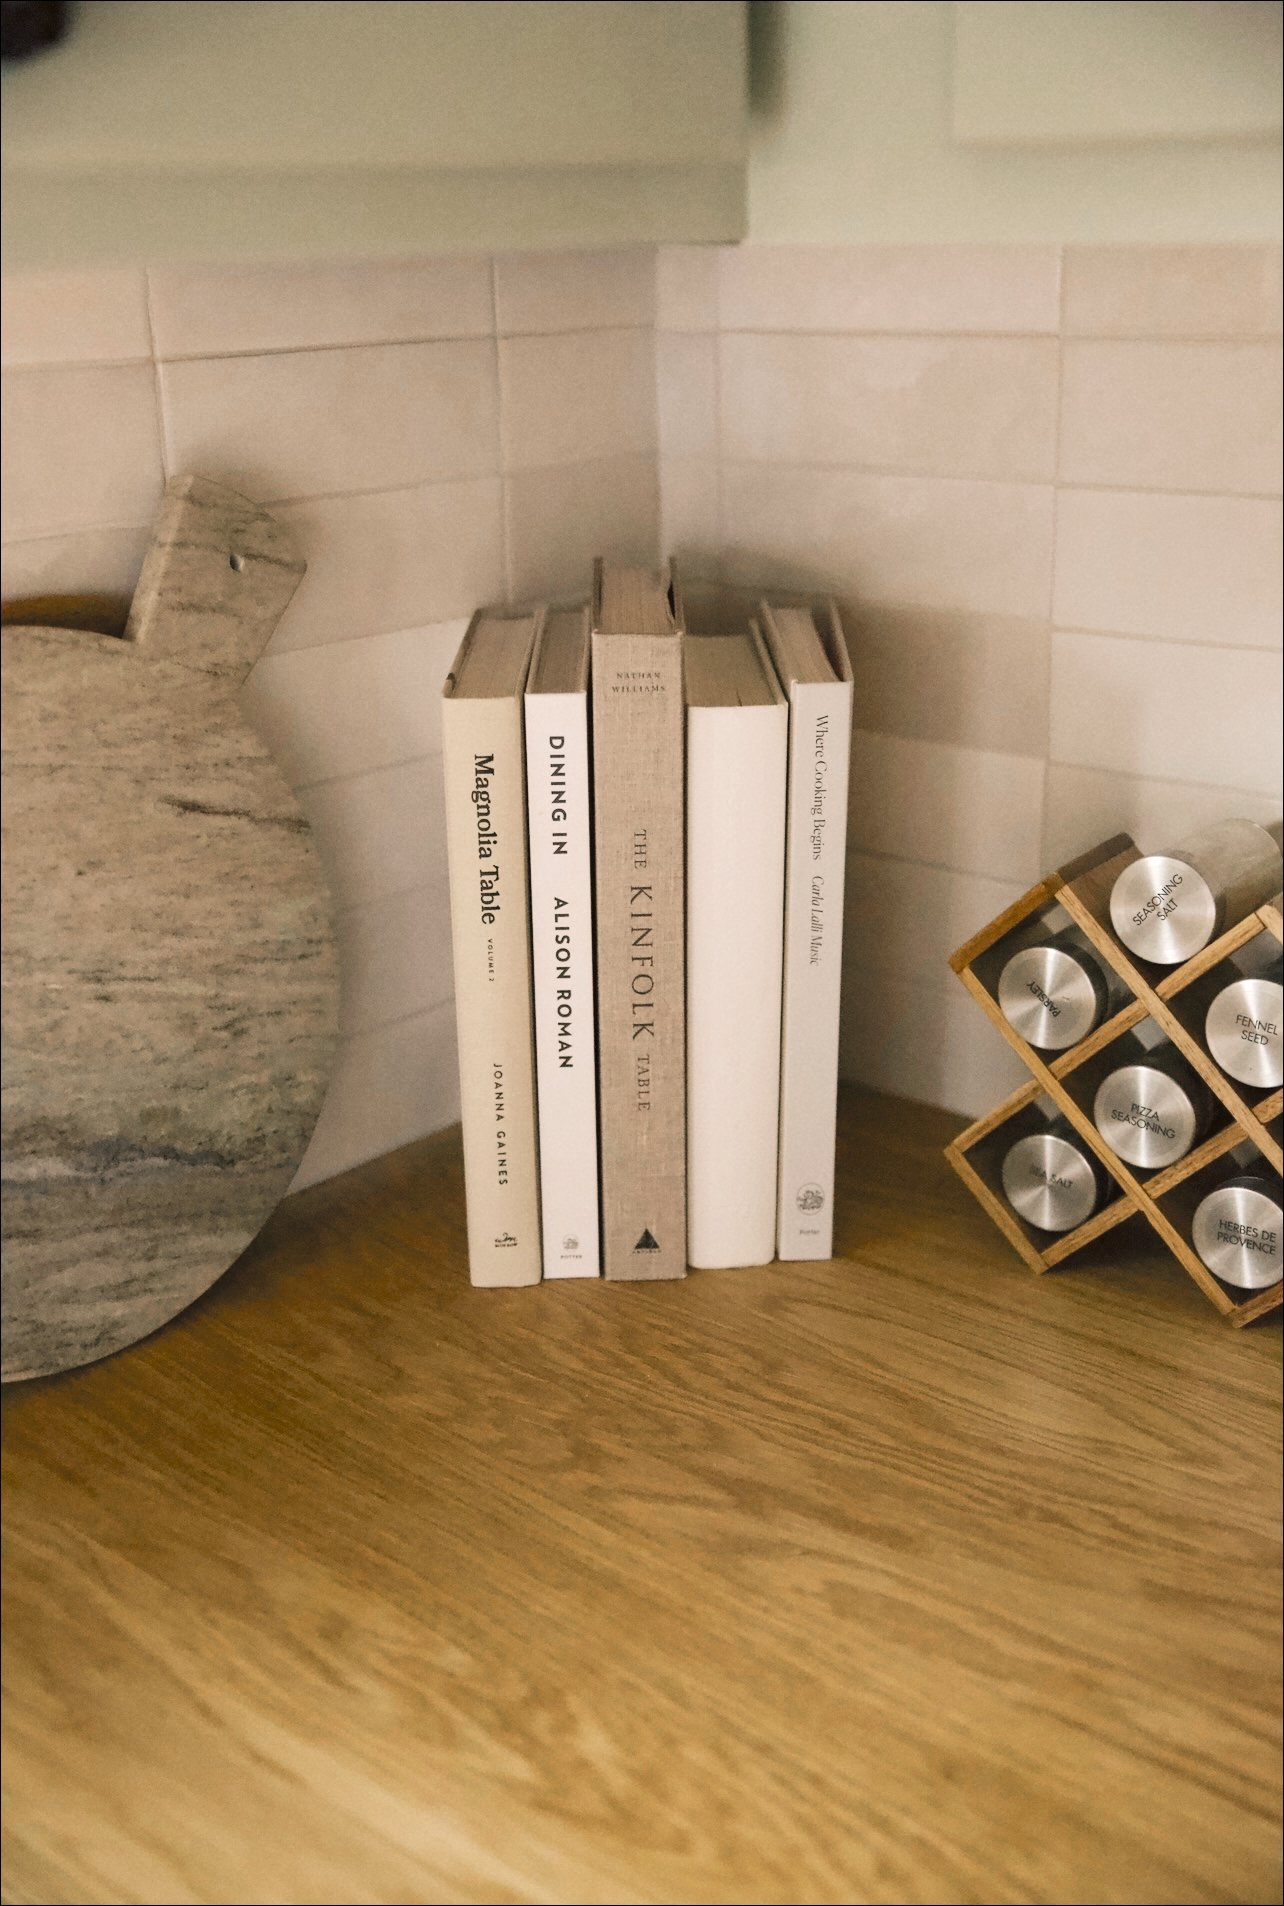
After our sink install, it was time for backsplash. We splurged on tile a little, and chose a ceramic bedrosian subway tile. I wanted something subtle, but loved that it was highly textured and had some variation in the cream color. Its made in Spain, and each tile is hand crafted, so every single piece is different. This was our first major tiling project and after renting a tile saw from Home Depot, it ended up being pretty easy project. We grouted with a very light gray, and beside the sink, I think that the backsplash ended up being my next favorite piece of the kitchen!


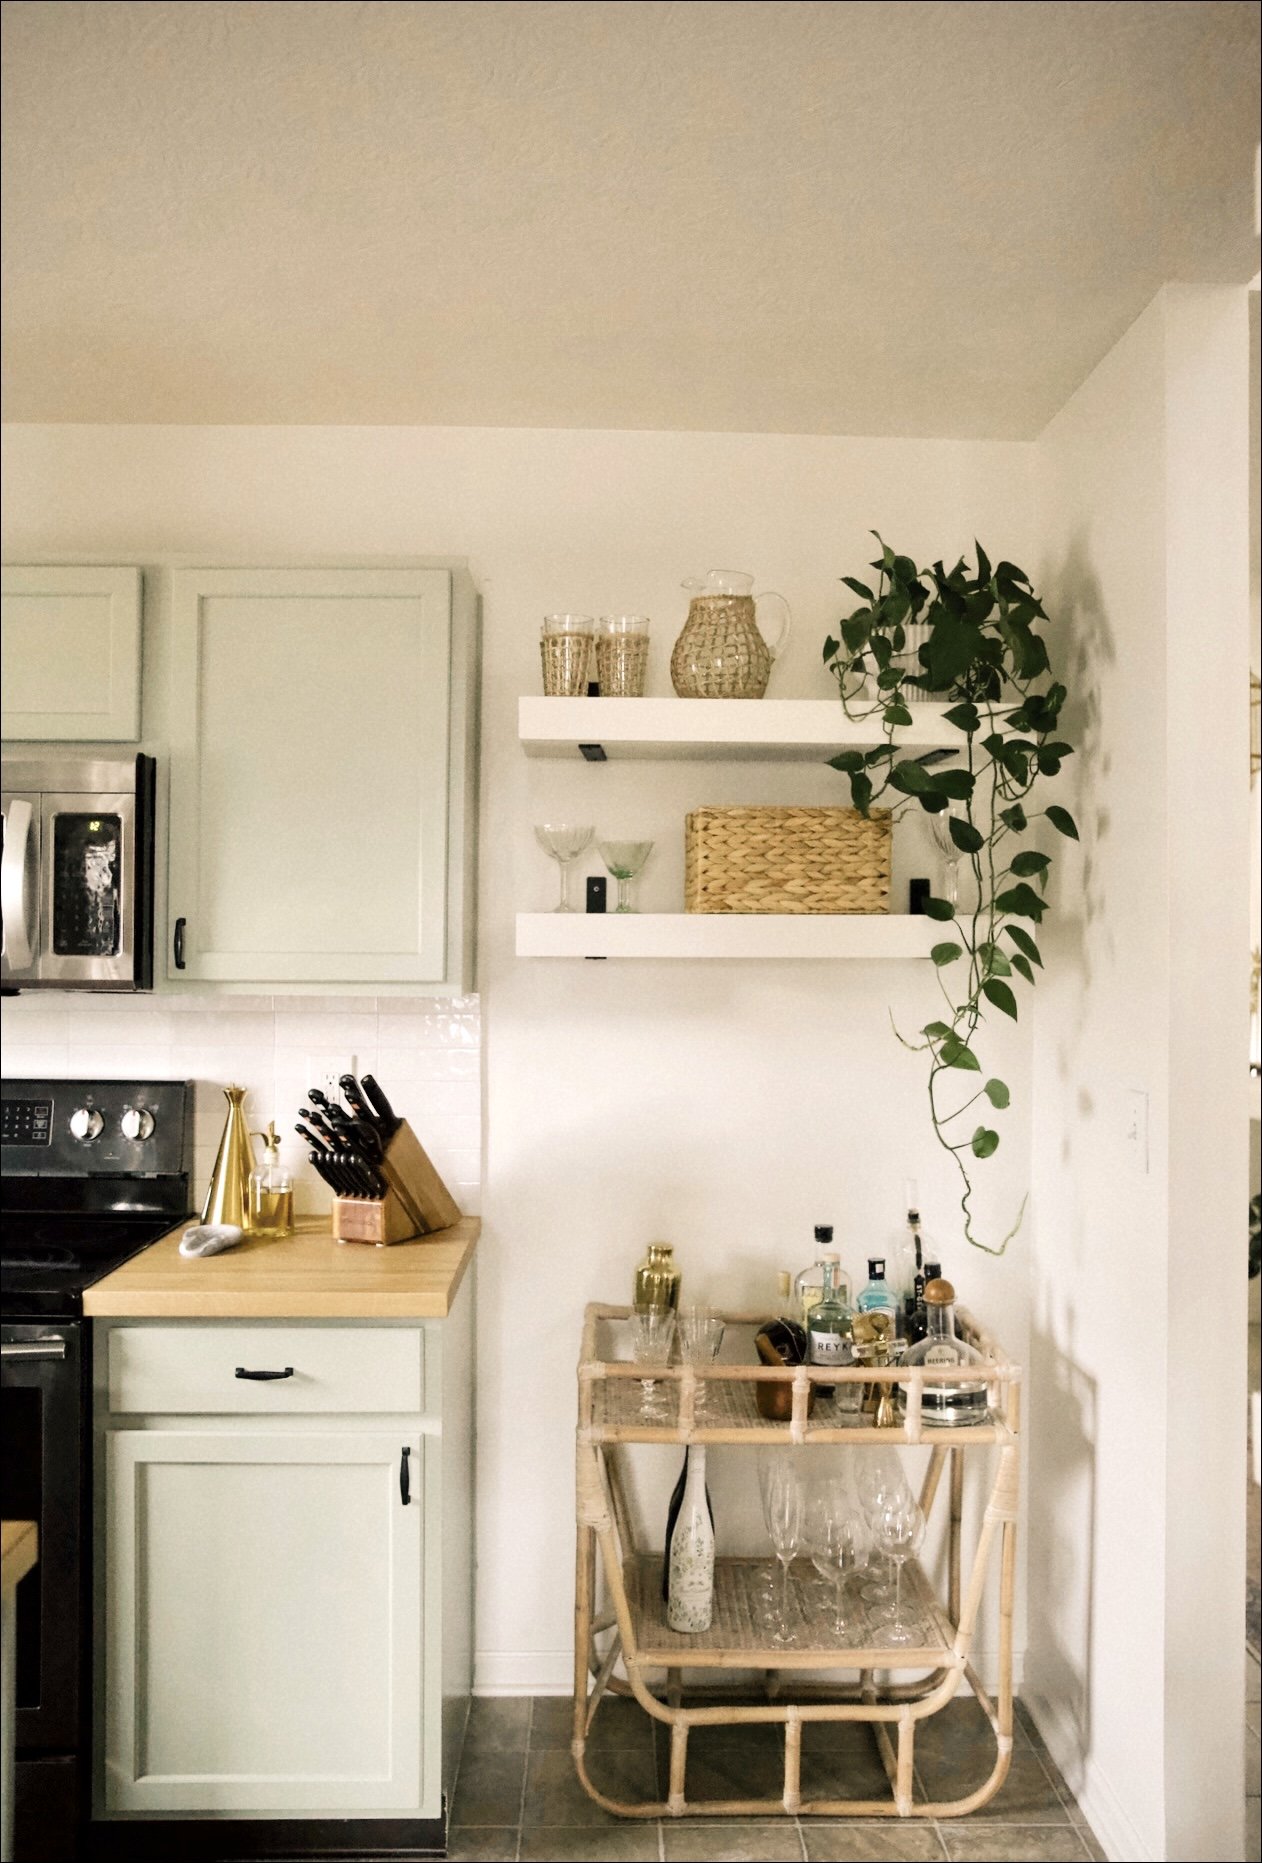
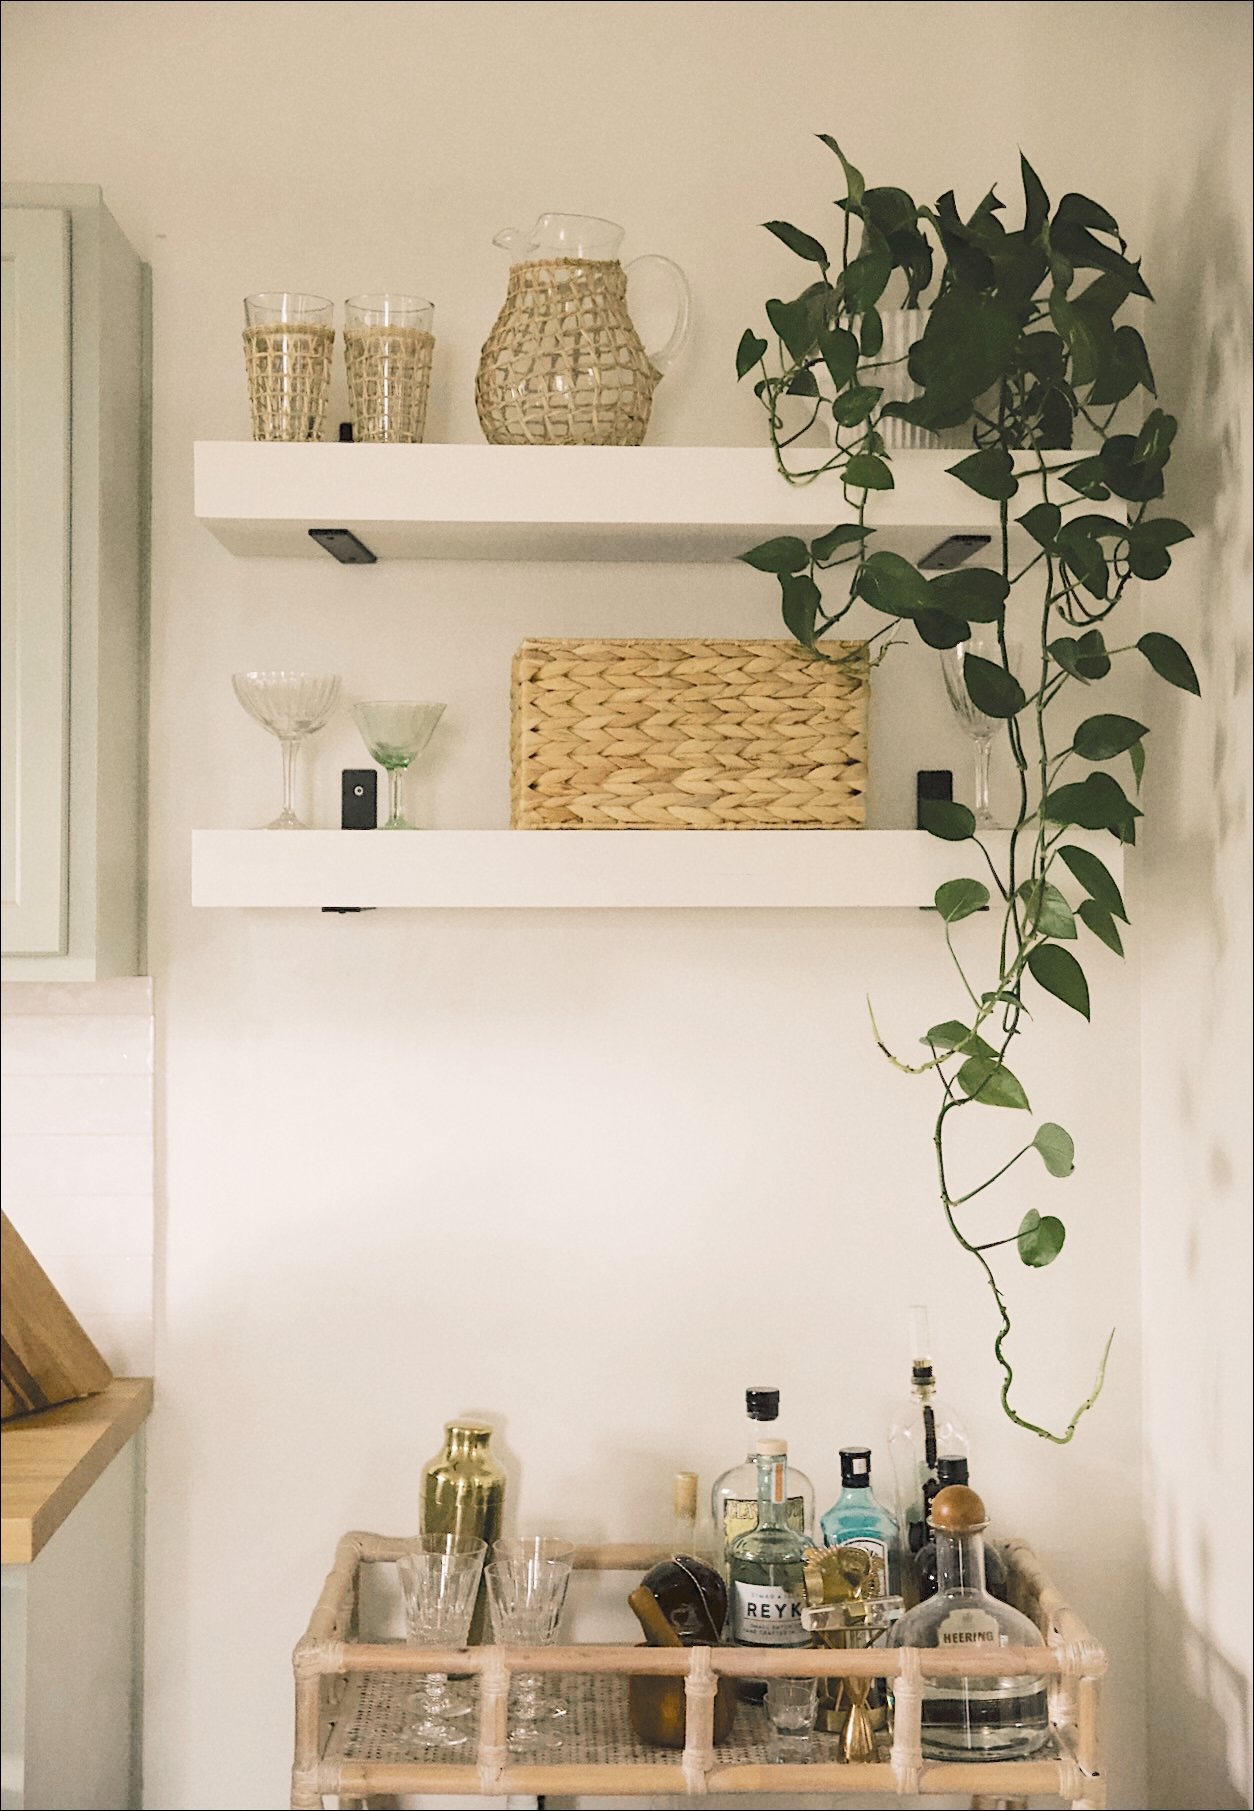
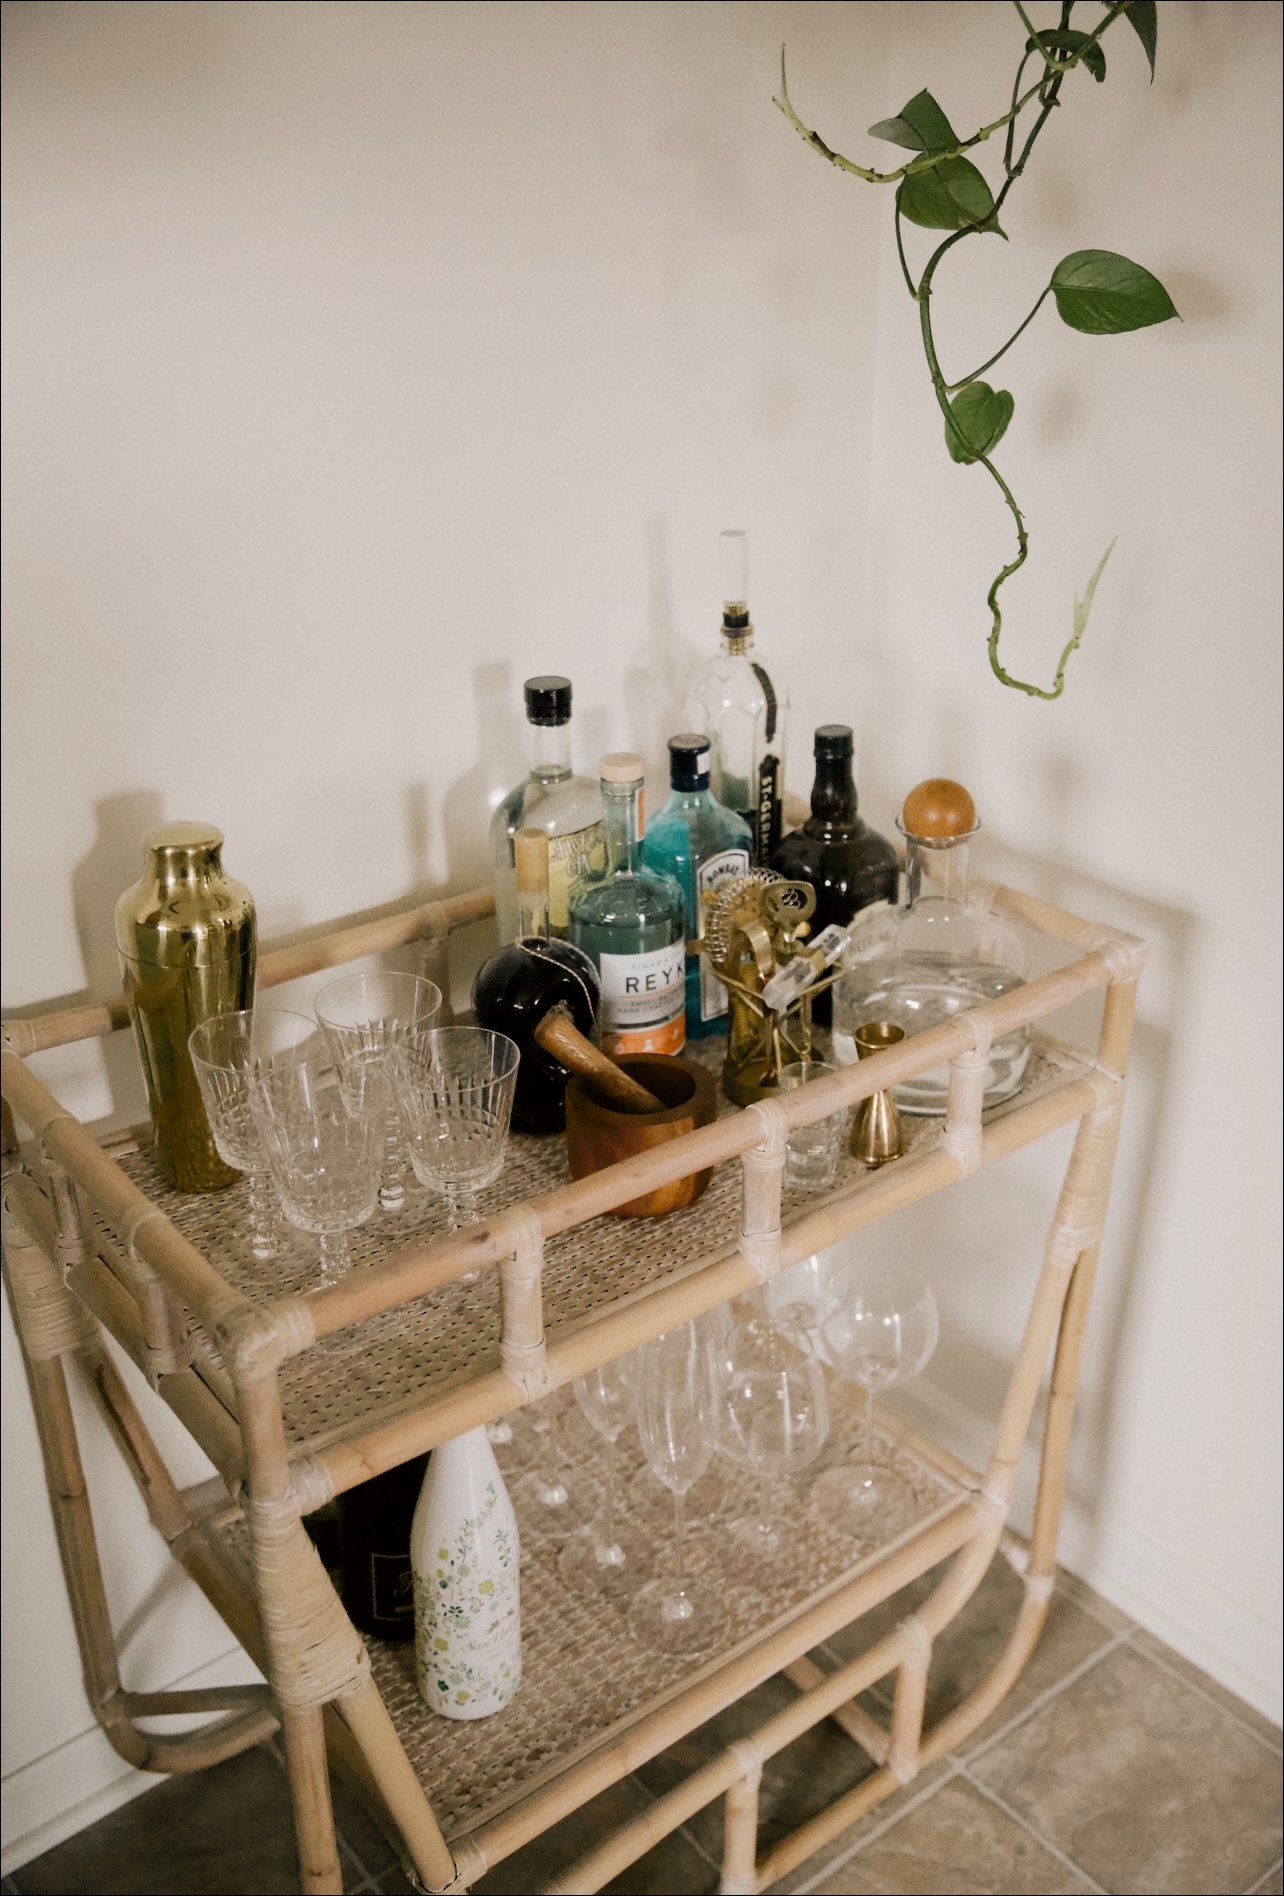
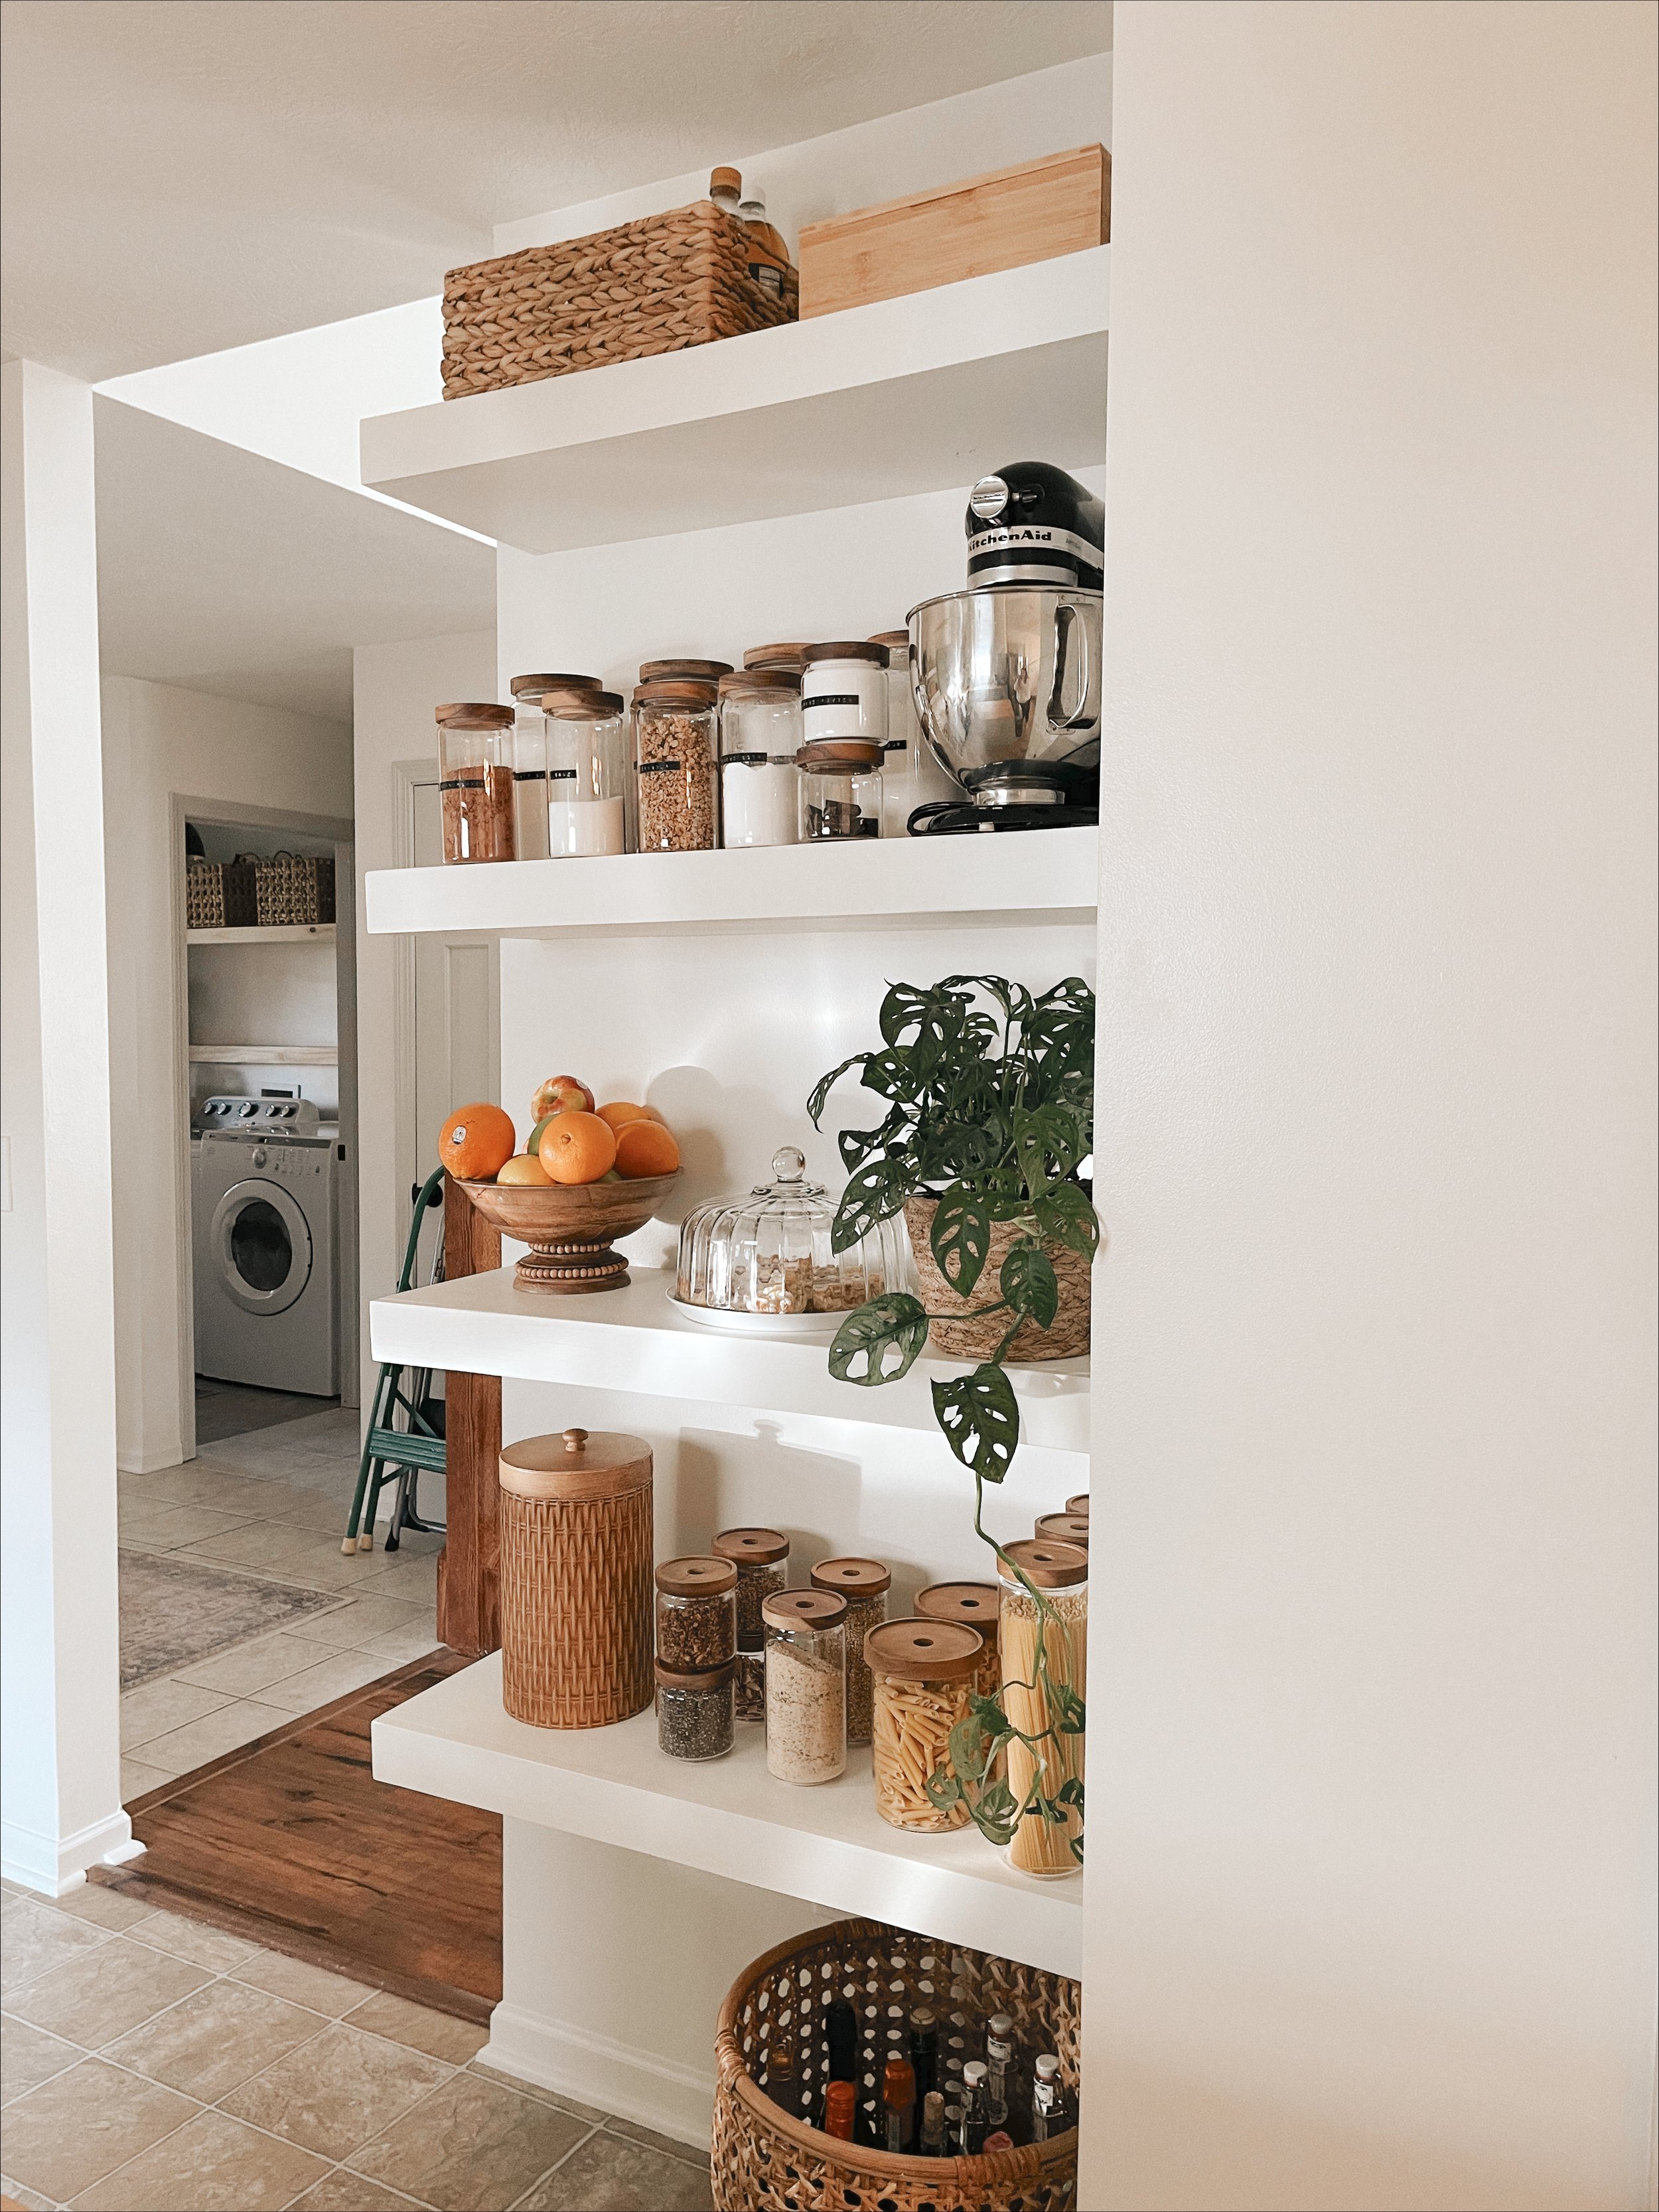
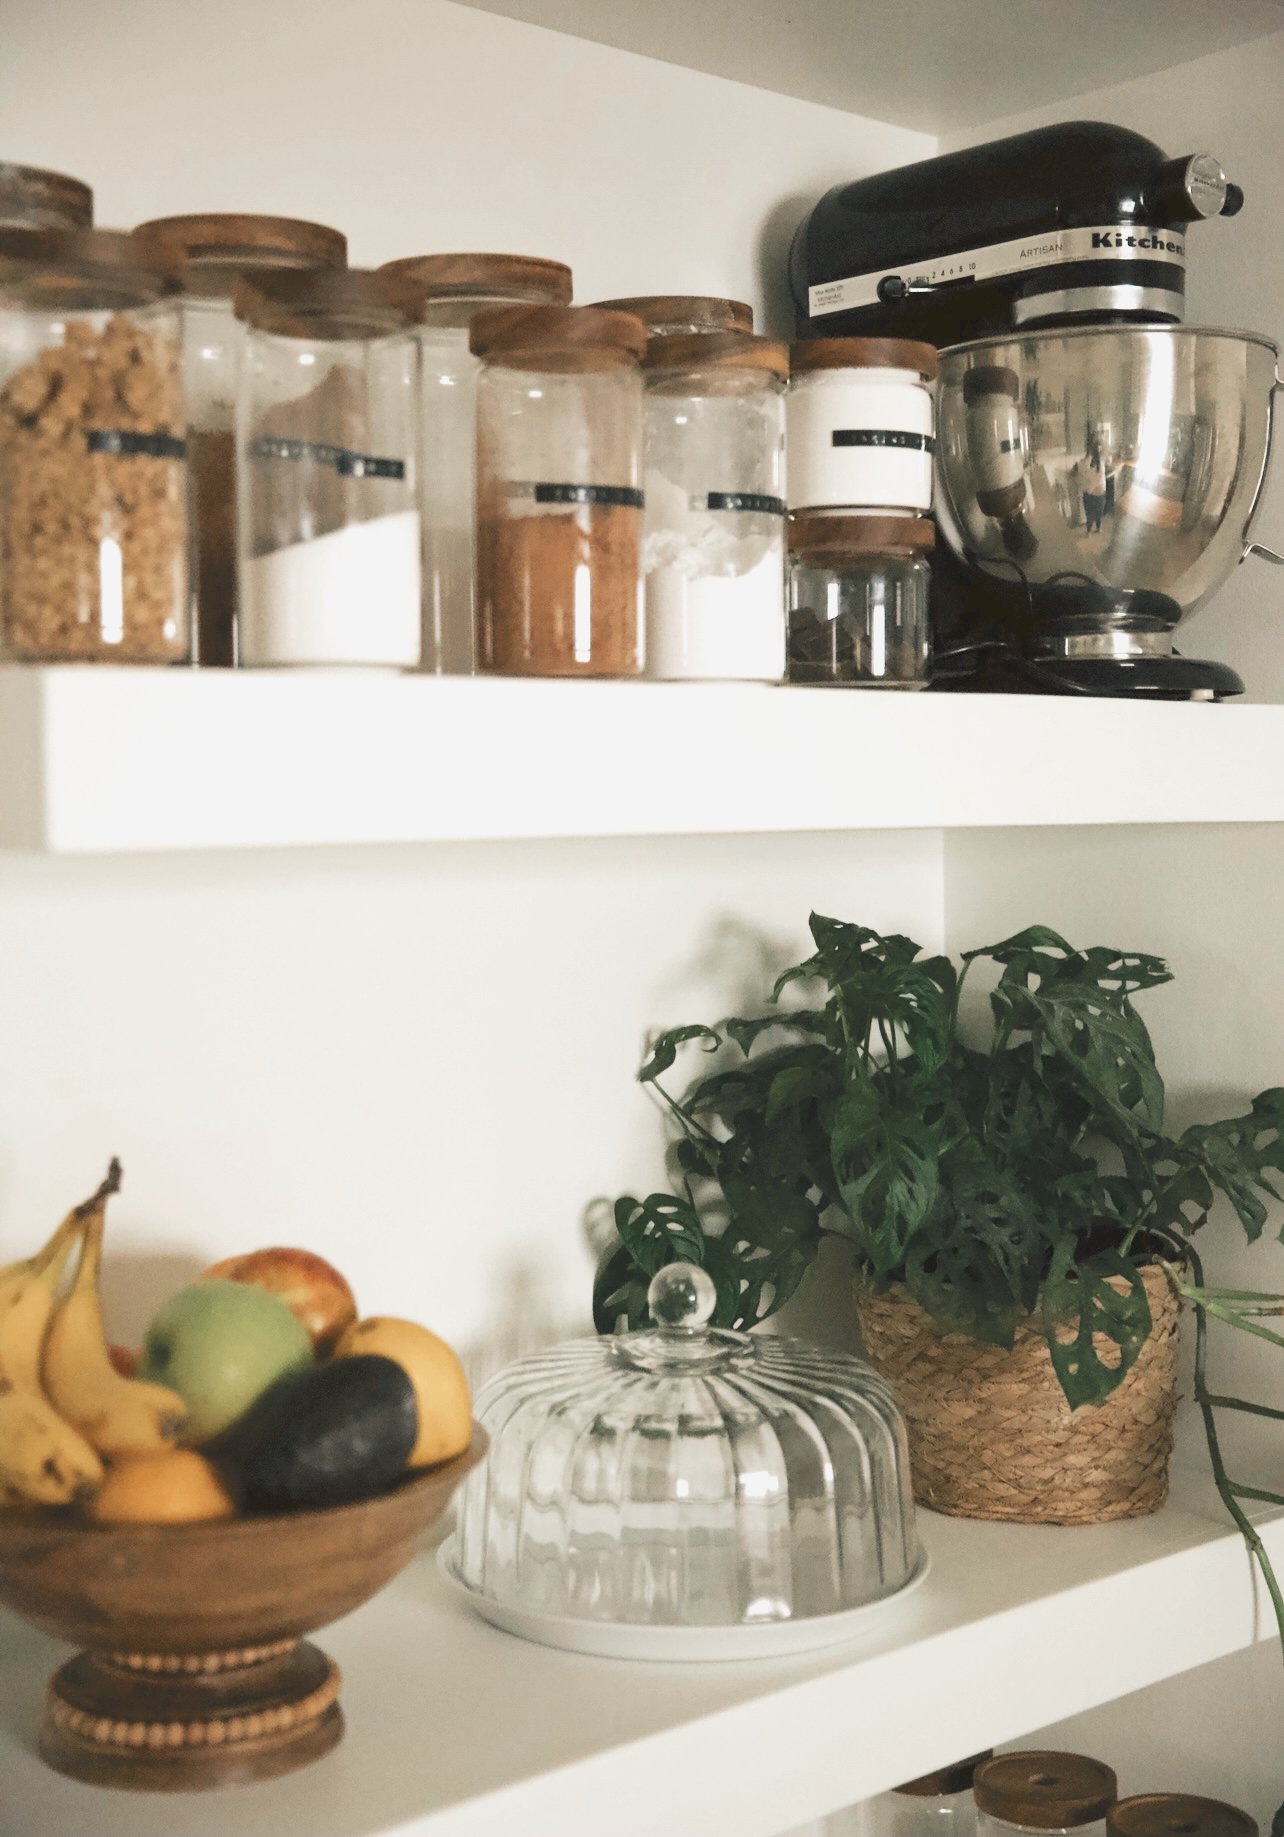
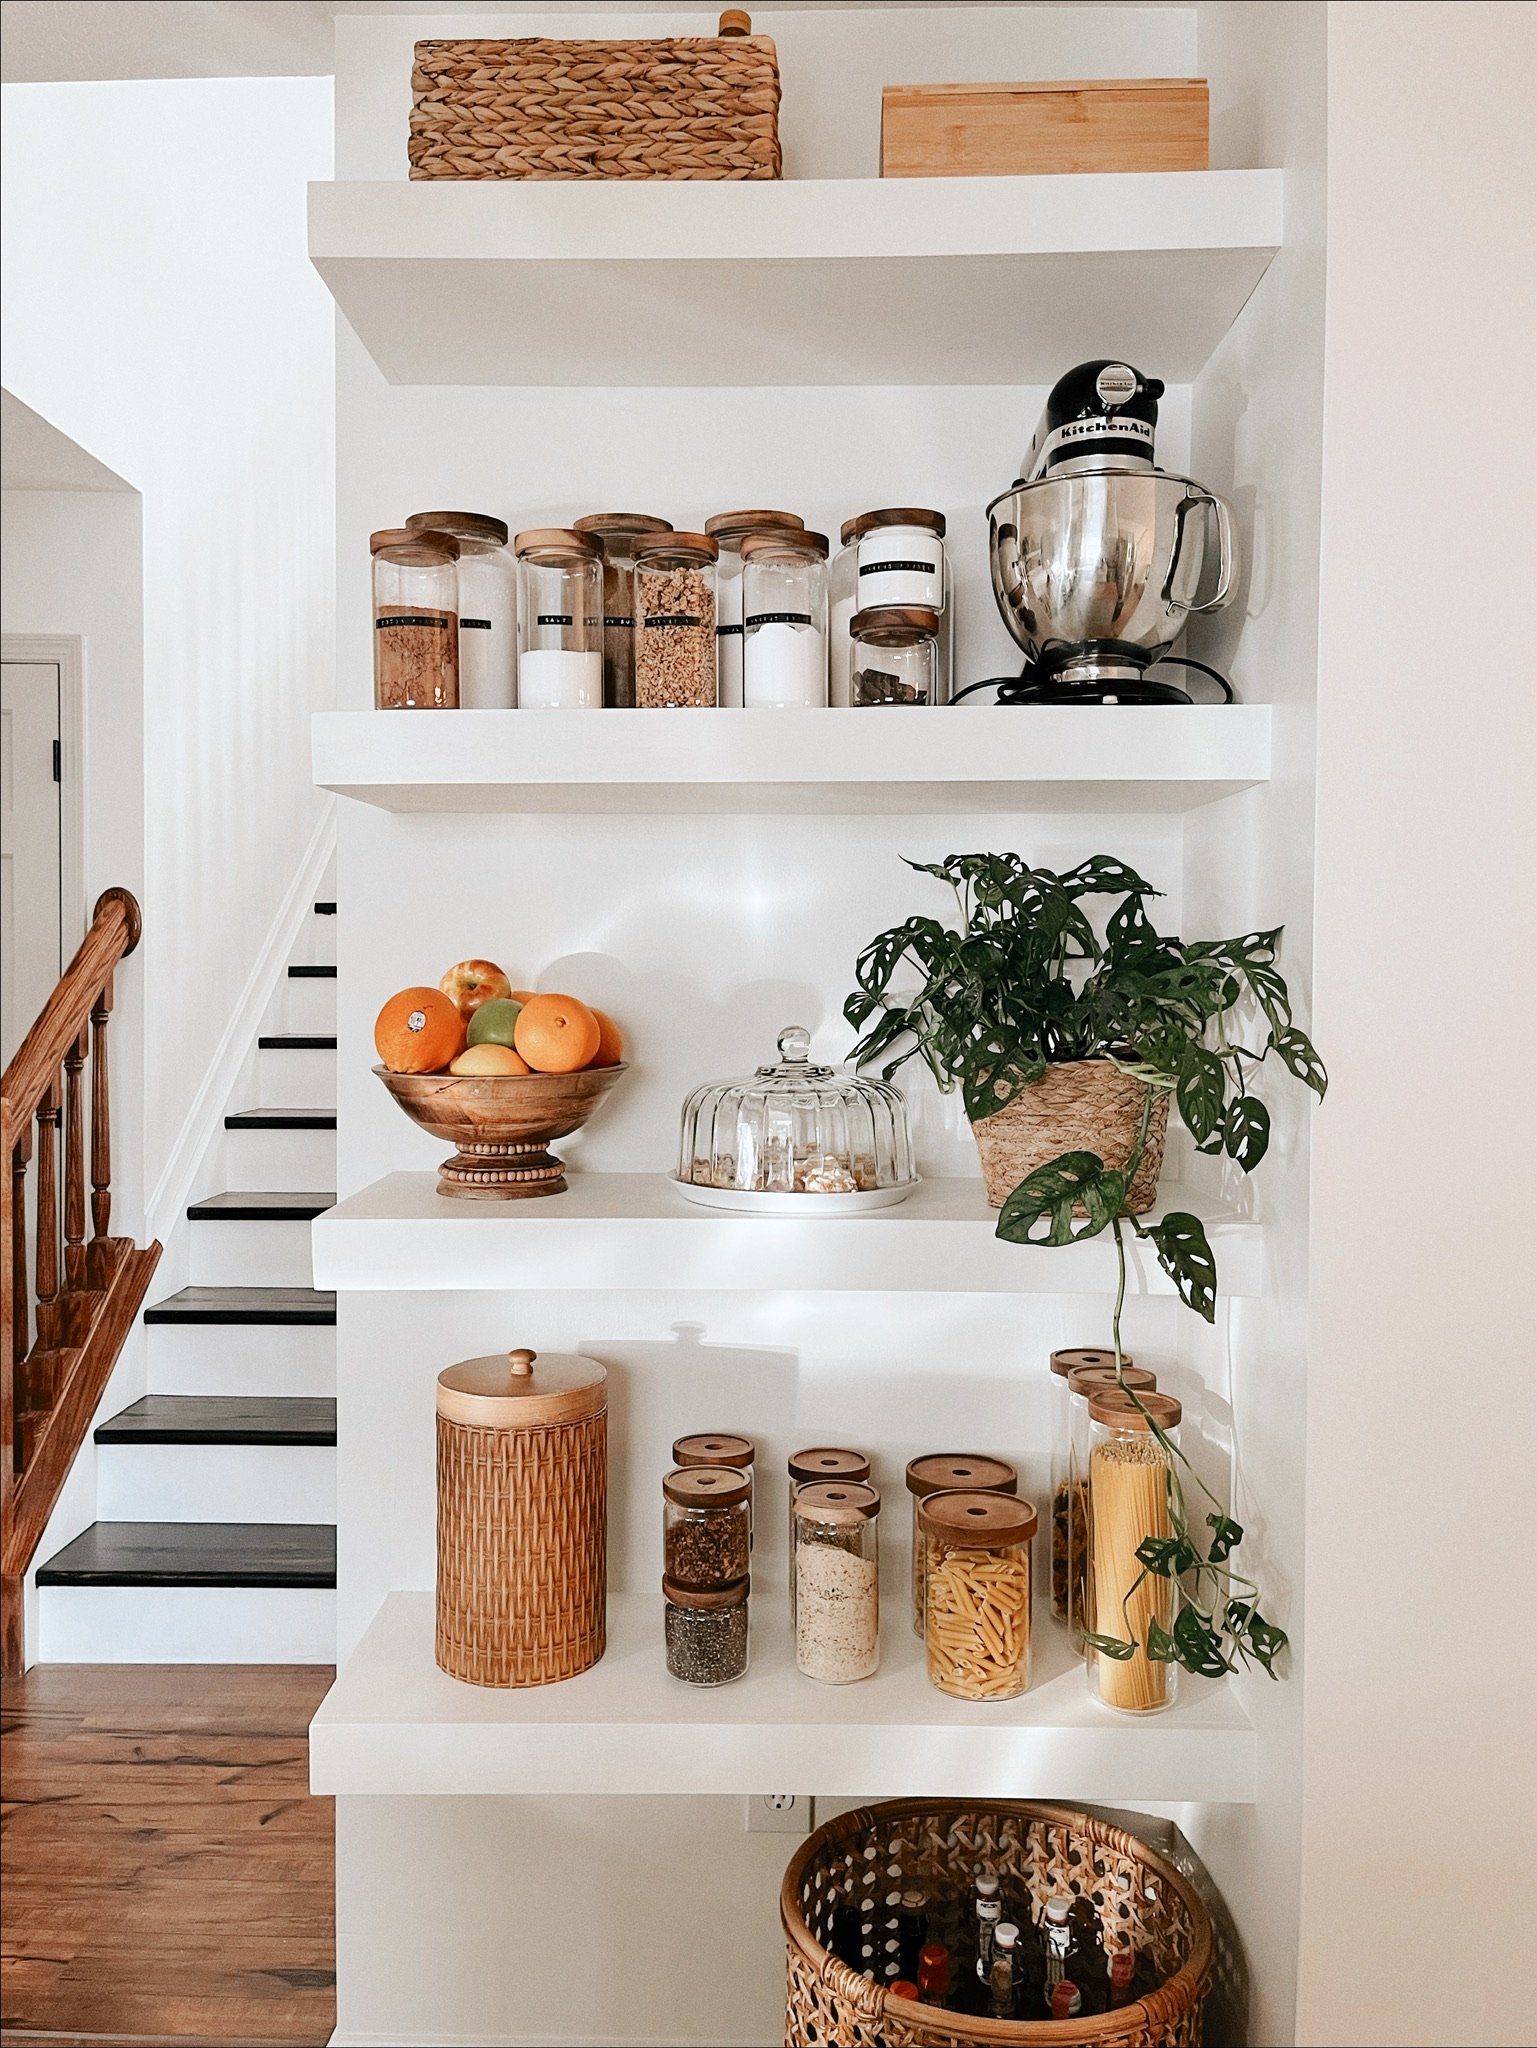
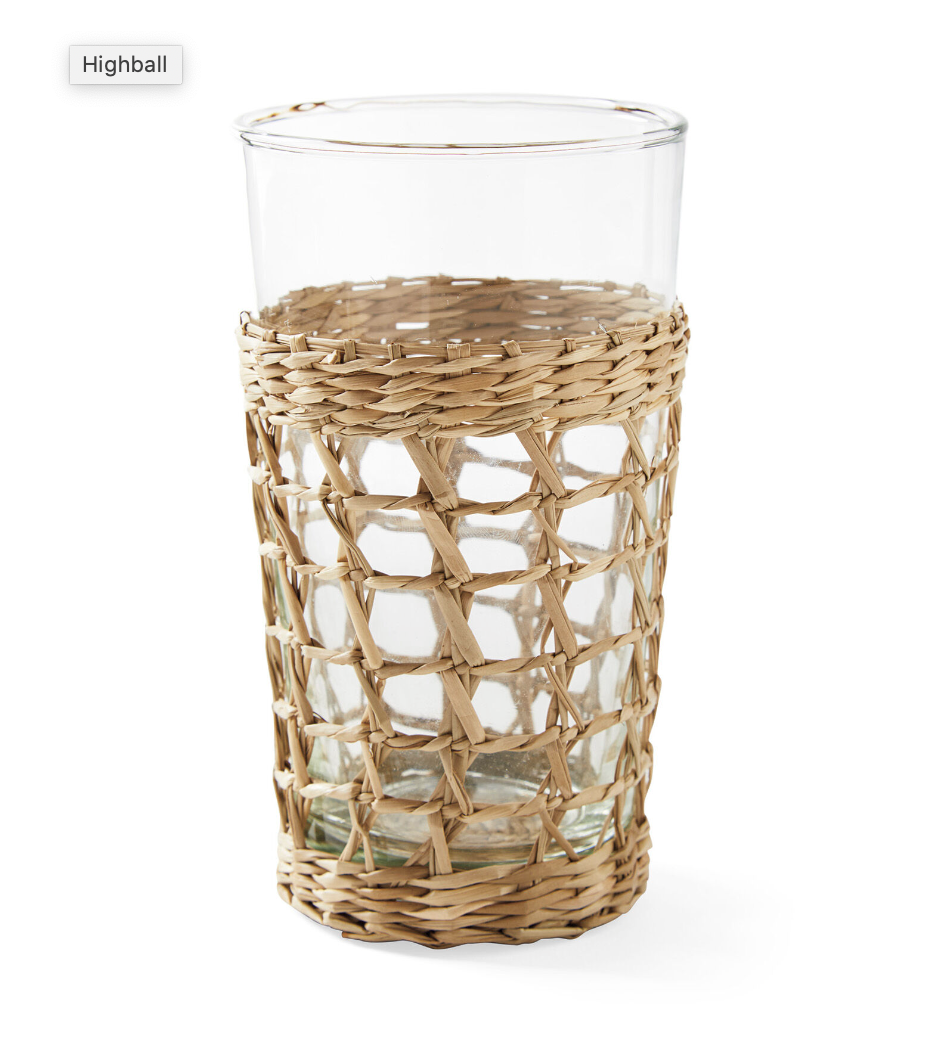
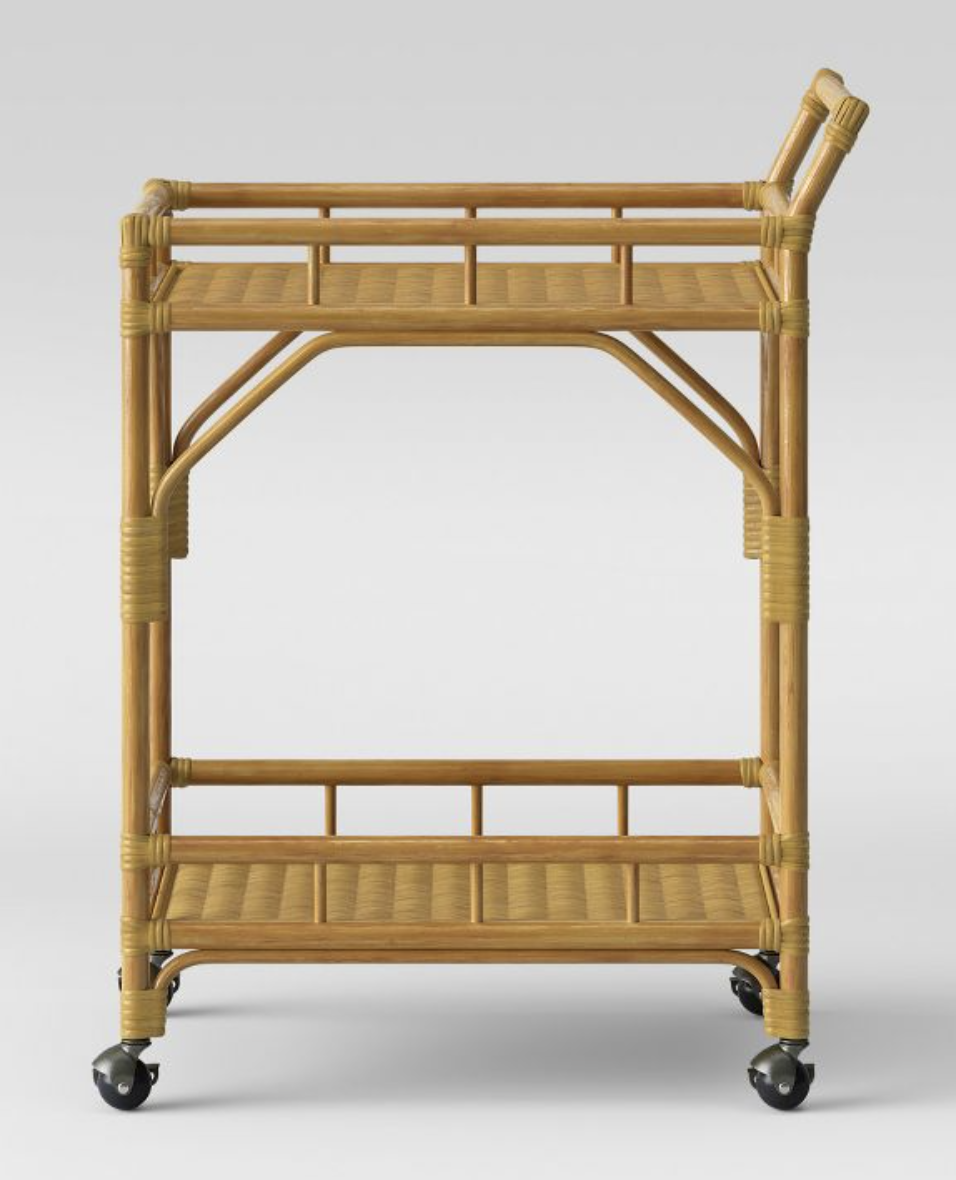
With the major components of our kitchen renovation done, we just needed to figure out two empty spaced in the space and how to utilize them best for storage. The first was right next to our pantry, where our bar cart and some decorative shelves had been living. We moved the bar cart, and decided to make the entire wall floating shelves. I knew that we desperately needed some more storage space for items in our pantry, so this open shelving was the solution! I bought some glass and acacia jars filled with baking supplies, pasta, and other often-used items. The uniformity of the jars makes such a statement and these shelves were really fun to style! Our next empty space was a gap beside our stove and countertop. This space used to house a doorway to pass through the kitchen to the front room. The former owners used that room as a formal dining room, but we felt it would be better used as a guest bedroom or an office, so we closed that opening off, and now had the dilemma of what to do with the space. We considered trying to fill it with cabinetry for more pantry storage, but weren’t able to find something that would fit the space exactly and match our existing cabinets. So, instead we moved a bar cart to this area with decorative shelving to match what we had built on the adjacent wall. I love that we got to keep a bar cart area and have a space to display some glassware that I love!
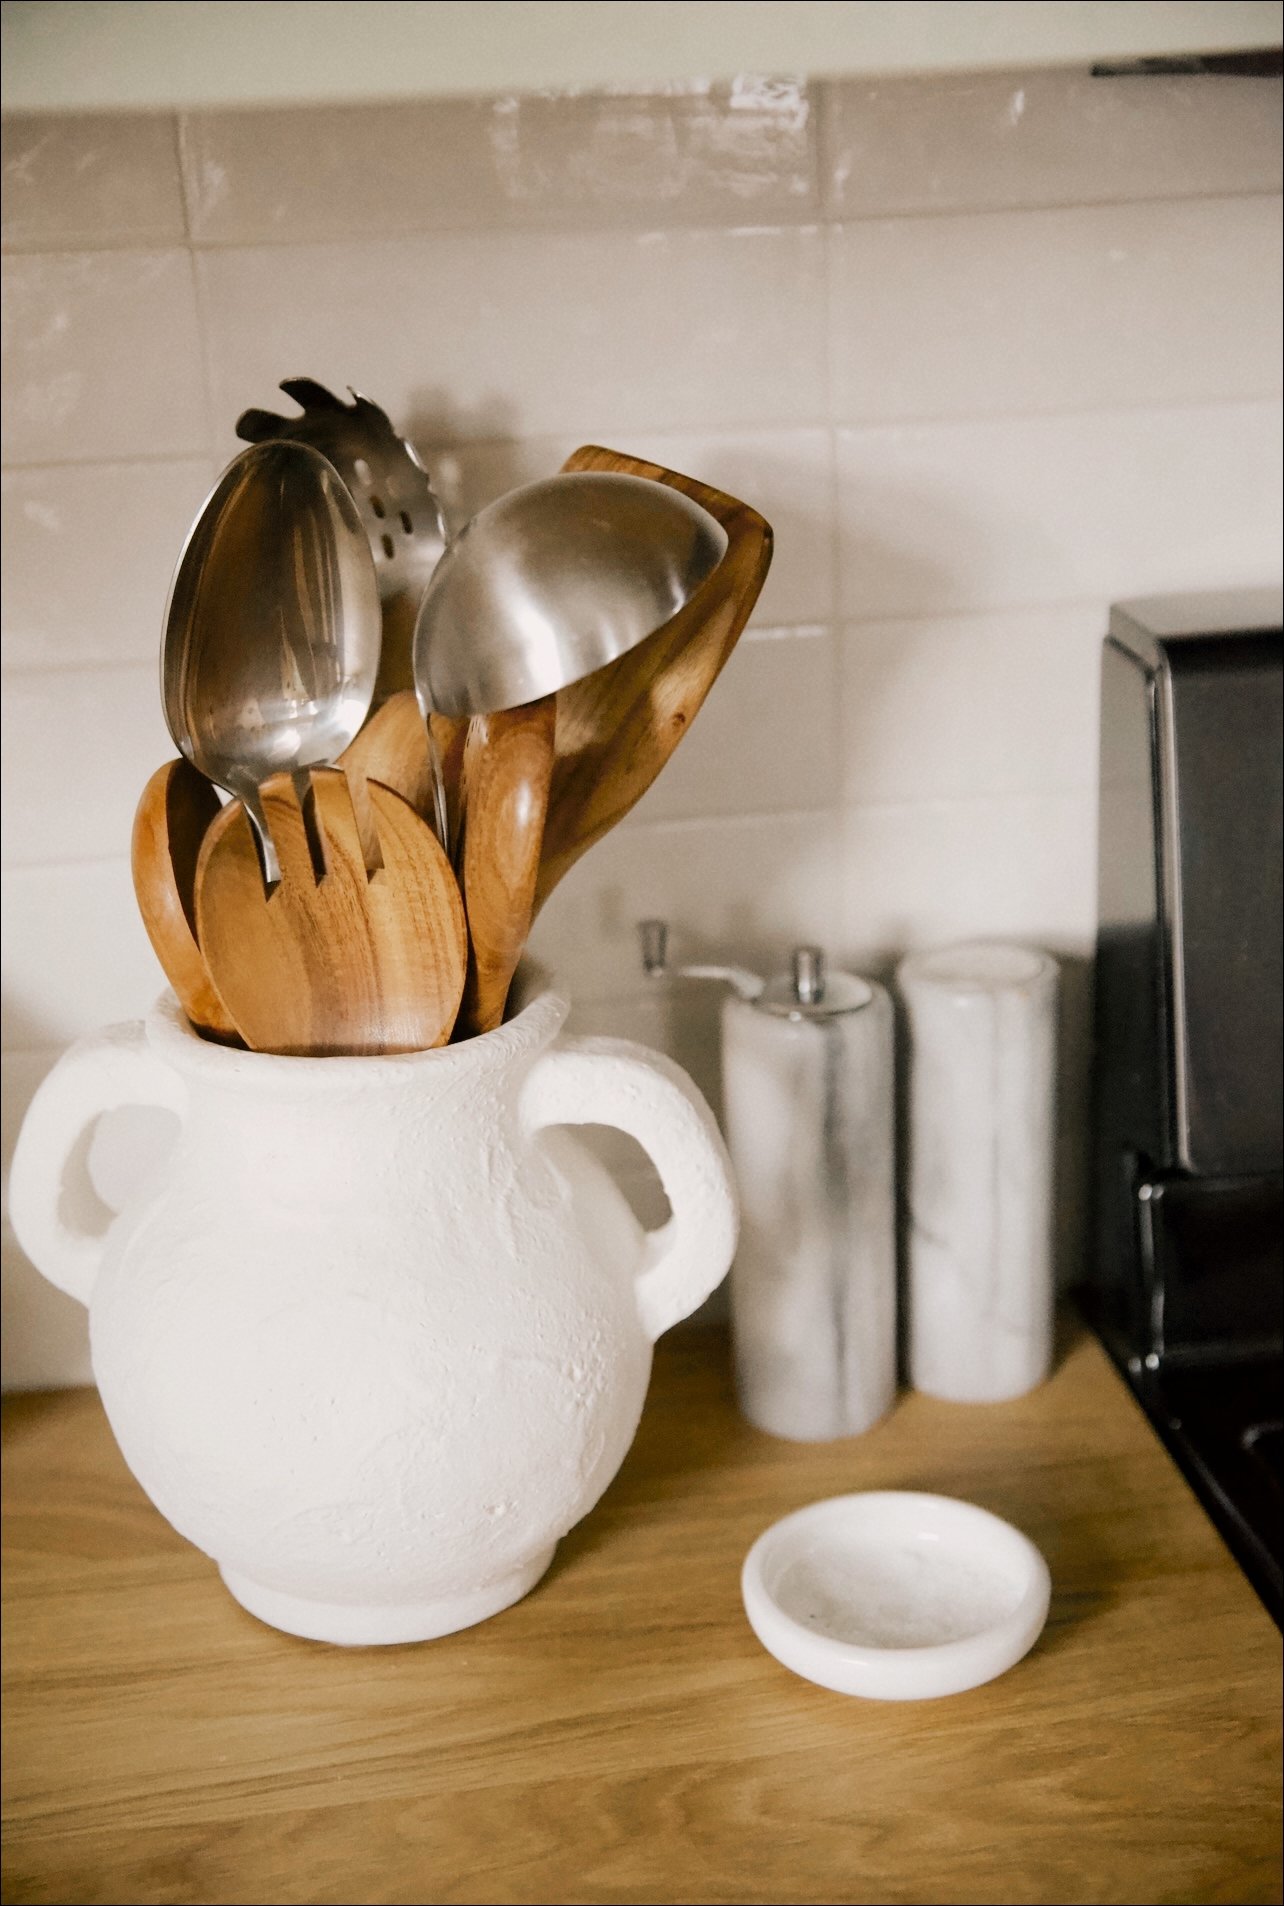
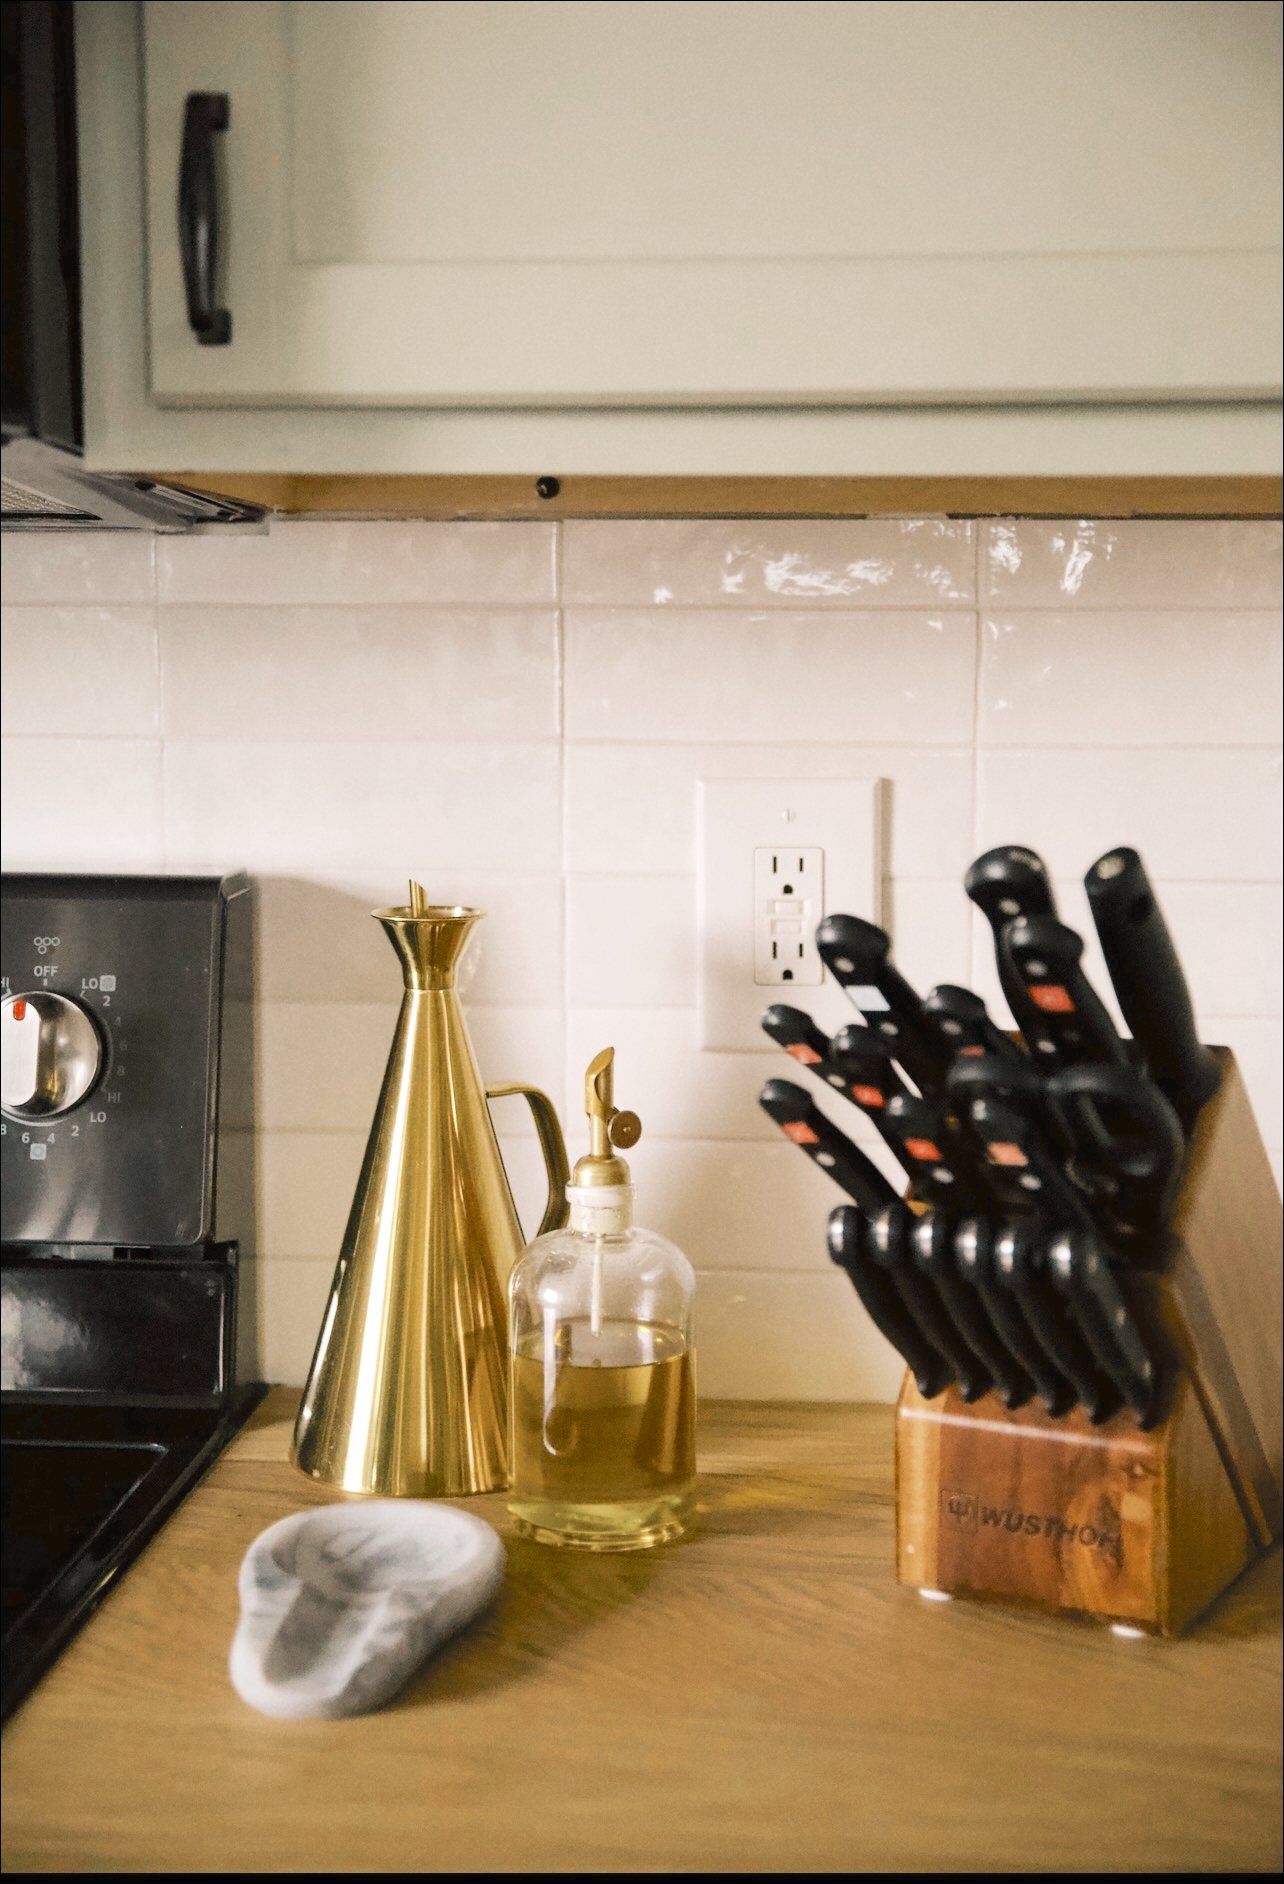
You’re probably wondering what more we could possibly do in one room, and the good news is that the rest was all detail work. We changed out the hardware on our cabinetry. We got a new kitchen runner (I chose a Loloi rug that leans heavily red because I thought it would compliment the green cabinets nicely) and added in some plants to the room as well! I love having the added greenery in there, and the rosemary sitting on our counter smells heavenly when i’m doing dishes. I got a few new items for the countertop since they’ll be seen all the time - including a new stainless steel toaster and two cruets. The rest of our decor is comprised of items we already owned.
All in all, it took us about a month to complete the renovation. We worked on evenings and weekends, and part of that time was spent waiting for orders to arrive, but our goal was to get it done before Thanksgiving, and we did successfully host our families on turkey day in our newly completed kitchen. To say that we are happy with the results is really an understatement! This renovation was a large undertaking for us, but walking into the room every day makes the hard work so worth it. Our first floor is pretty open, so having this space feel so much lighter and cohesive really helps elevate the entire floor. After purchasing a few extras, our total for the entire project came to just about $100 over our budget of $2000.

Now that the renovation is complete, most of our house projects are done! We have some plans for renovating our living room fireplace and adding a new light in that space. We also will eventually paint and change up some things in our powder bath on the first floor. As for the kitchen, the only thing we plan to do in the future is get a new stove to match our other stainless steel appliances. We’d like a gas stove and so will need to have a gas line run to that area as well. That one we will leave to the professionals.


+CLICK PHOTOS FOR PRODUCT LINKS+
I hope that this walk through our new kitchen had been informative and inspirational! Please let me know if you have any questions about specifics, and be sure to join me on Instagram where you can find stories of our step by step renovations, including the entire kitchen! Thanks so much for being here and i’ll see you back here soon for more fun home projects!
*This post contains affiliate links, and I may earn a small commission when you click on the links at no additional cost to you.